
Make Podcast Clips on a Desktop Browser


To make podcast clips on a desktop browser, get the episode to a link or upload the file, run a browser-based AI clipper to surface and caption the strongest moments, then trim and post the keepers, using the keyboard and the screen real estate a phone can't give you. The desktop edge is precision and volume: frame-exact cuts with arrow keys, scrubbing on a wide timeline, and reviewing a whole episode's candidates in one pass.
The web is full of "clip on your phone" guides. Fewer admit that some of this work is just faster sitting at a computer. This is the desktop case made specific, the steps where a big screen, a real keyboard, and a second monitor turn a forty-minute fiddle into a five-minute pass.
Why desktop wins on the parts that slow you down
A desktop clipping session matters because clips are how new people find a show, and the parts of clipping that take longest, exact trims, scanning a full batch, are exactly where a big screen pays off. For video shows, one studio's client data puts clips at 20–40% of new audience, with 2–5× reach lifts (Podcast Studio Glasgow), a single-source range, directional rather than audited, but the direction holds: most of an episode's reach sits in clips you haven't cut yet. And 53% of new US weekly listeners now prefer to watch a podcast rather than only listen (Backlinko, a single-survey reading).
The practical reason to do it on desktop: a single 20-minute episode hands you a long list of candidate moments, in our own clipping runs, comfortably twenty-plus from one short episode, and more from a full hour. And those clips are doing real discovery work: one clipping platform reports 42% of podcast listeners find new shows through social media (castmagic, vendor-reported, directional). Reviewing twenty-plus candidates, trimming each to the frame, and laying them across a posting calendar is the kind of repetitive, precision work a mouse, a keyboard, and a wide monitor handle in a fraction of the time a thumb does.
What's faster on desktop vs. fine on a phone
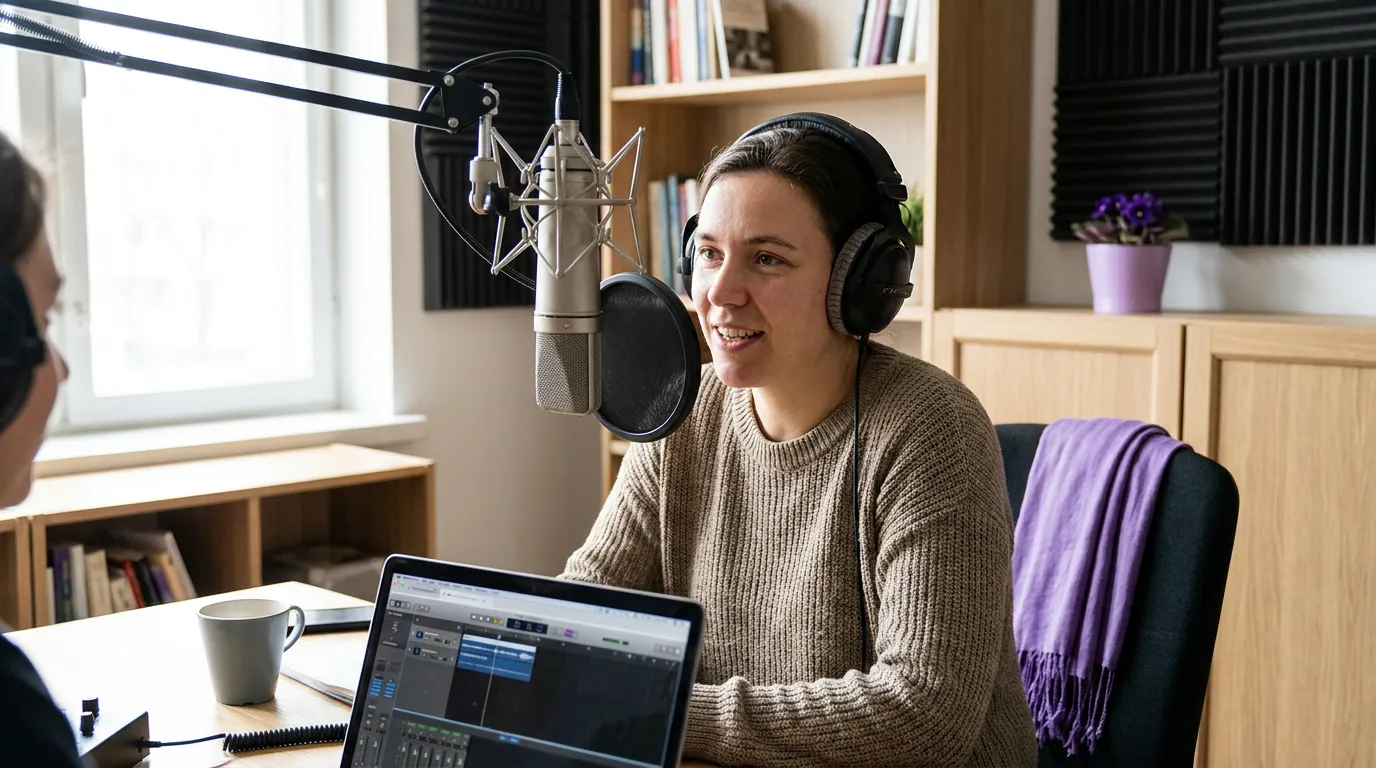
Here is the honest split. A phone is genuinely good for picking clips, applying a caption preset, and posting on the go, the phone-first workflow covers those well. Desktop pulls ahead on anything that needs precision or runs at volume. Know which side of the line your session sits on before you open anything.
The pattern: desktop is built for precision and throughput, landing a cut on the exact frame, scanning a long list, sitting through twenty edits without your hand cramping, and a phone is built for immediacy. So if you're shipping one clip from the couch, a phone is fine. If you're turning a full episode into a week of posts, sit down at a computer.
The keyboard layer: where desktop trimming gets fast
This is the part the mobile guides physically cannot offer. On a desktop browser, the keyboard turns trimming from a drag-and-pray into a precise, repeatable motion. Learn four keys and you'll cut faster than any touchscreen allows.
The workflow is mechanical once it's muscle memory: tap L to scrub forward at speed, K to stop near the moment, then nudge with the left and right arrows until the playhead sits on the exact frame where the line starts, and press I to set the in-point. Do the same at the end of the payoff and press O. No tiny handle, no fat-fingering, no clipped first word. Exact bindings differ between tools, so check your editor's shortcut list, but J/K/L scrubbing and I/O in-and-out points are close to a standard.
The desktop clipping loop, step by step
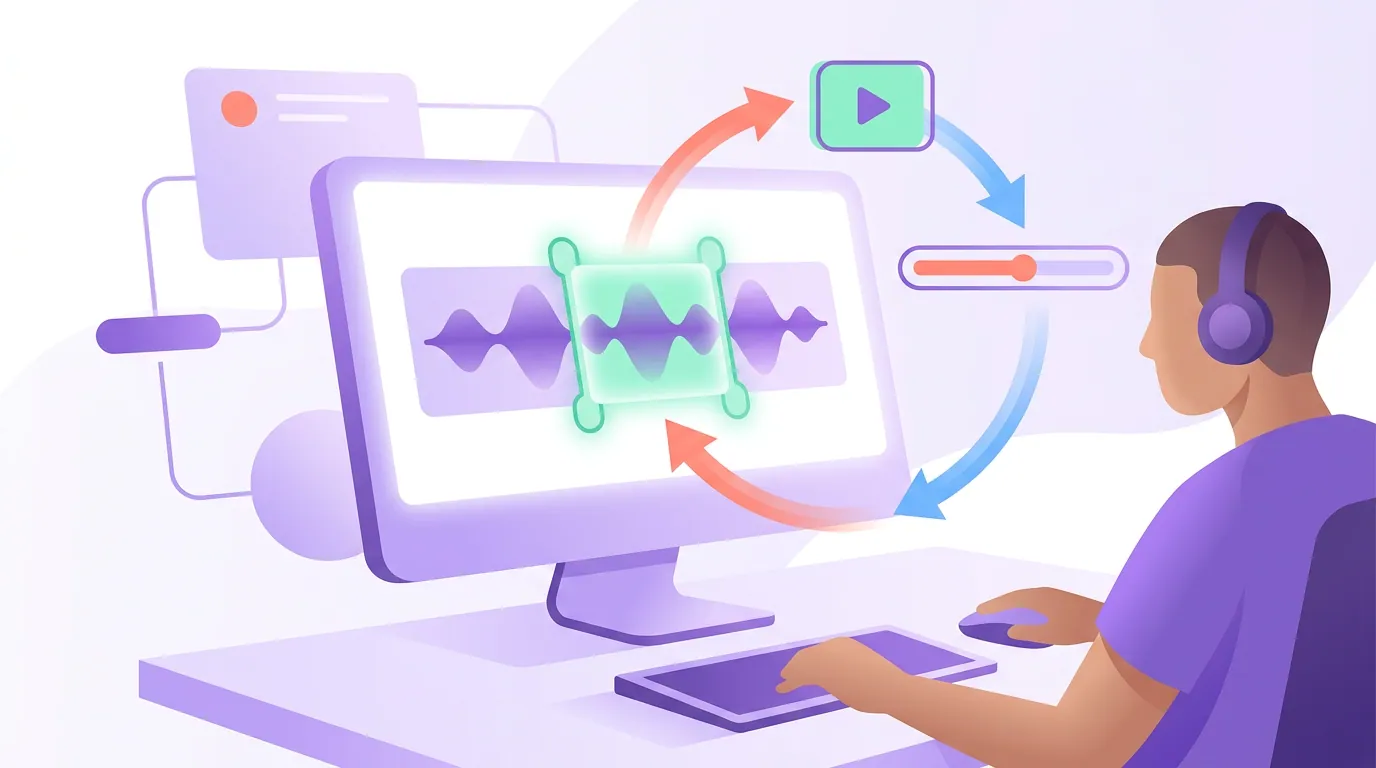
Once the file is sorted, the loop is the one every AI clipper runs, done keyboard-first on a big screen. Six steps.
- Get the episode to the tool. Paste the public URL, or upload the file. If your show is on YouTube or any public link, paste it, the tool fetches the stream and you skip the upload entirely. The source quirks are the same on desktop as anywhere; turning a YouTube podcast into short clips covers public vs. unlisted vs. private.
- Generate the candidate clips. The tool transcribes the episode, segments it into windows, and scores each on signals like topic shifts, question-and-answer pairs, and energy spikes. If you want to know why a moment got picked, how AI clip detection actually works breaks down each signal. Let the full pass finish before you judge anything.
- Batch-review with keep / fix / kill. This is where the big screen earns its place. Run down the whole list in one pass: keep the self-contained clips, mark the ones with a good moment but wrong edges to fix, kill anything that needs context a clip can't carry. How to pick the best AI-suggested clips is the full rubric. On desktop you see more candidates at once, so you triage twenty in the time a phone shows you five.
- Trim to the frame. Use the keyboard. Scrub with J/K/L, step with the arrows, set in and out points exactly where the line starts and the payoff lands. Cut the dead air at the front; end the instant the moment completes.
- Caption and confirm the reframe. Apply your saved caption preset, then check the vertical 9:16 crop kept the active speaker in frame, most social video is watched on mute, so burned-in captions aren't optional. On desktop you can nudge caption position pixel by pixel if a preset doesn't quite fit a busy frame.
- Schedule the week. Lay the keepers across a posting calendar instead of dumping them at once. A wide screen makes spacing clips across days a single drag-and-drop pass rather than five separate trips.
The multi-monitor move most people skip
If you have a second screen, use it to review while the next pass renders. Put the candidate list and your trim editor on the main monitor and your posting queue or transcript on the second. The habit that saves the most time: scan the transcript on screen two while a clip plays on screen one, so you spot the next good line before you've finished the current trim.
A second screen also makes the transcript-first trim practical. Instead of scrubbing video to find where a line starts, read the transcript on one monitor, click the word, and the playhead jumps there, then refine with the arrow keys. It's the fastest way to set rough edges on a long episode, and it's painful on a single small screen.
Common mistakes clipping on desktop
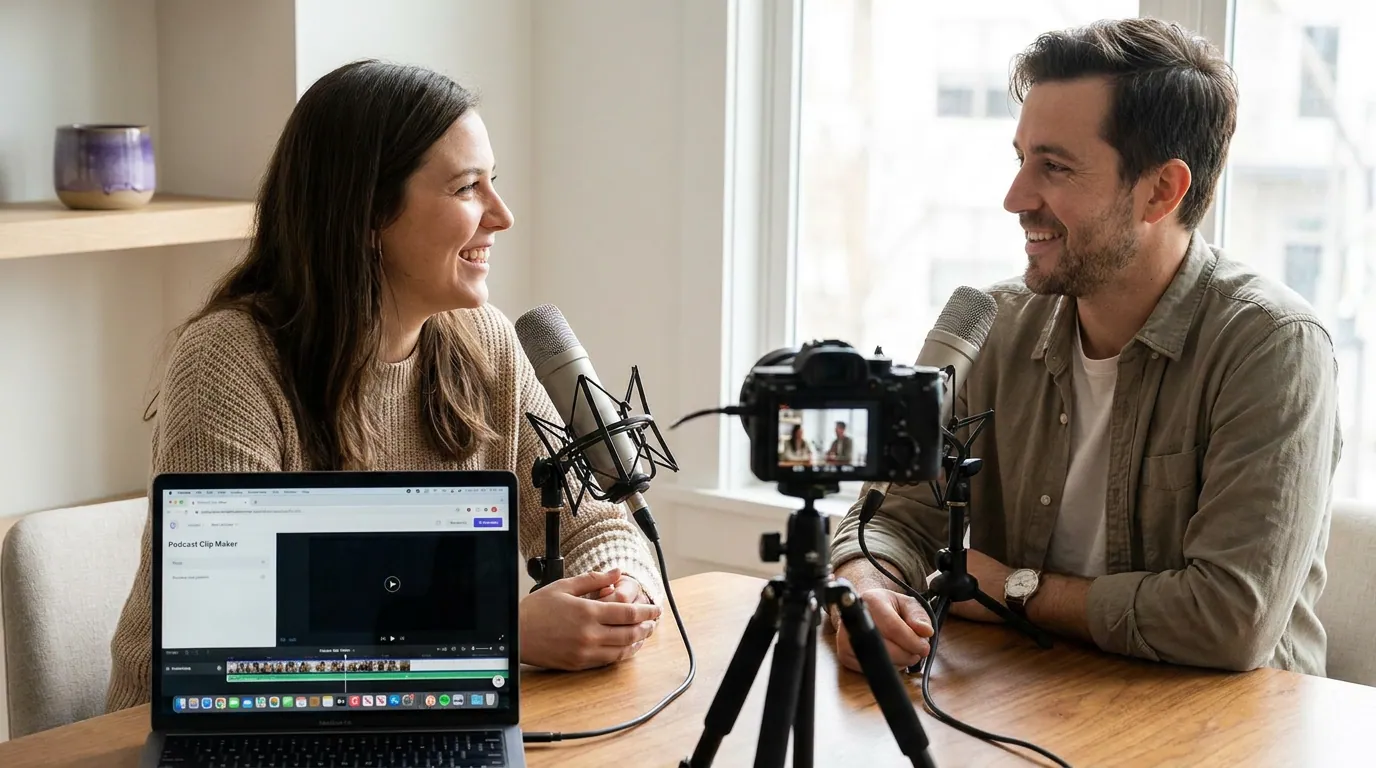
Dragging trim handles with the mouse instead of using the keyboard. The mouse gets you close; the arrow keys get you exact. If you're still fat-fingering a handle on a desktop timeline, you're leaving the tool's best feature unused.
Reviewing candidates one at a time instead of in a batch. The whole point of the big screen is seeing the full list. Triage all twenty-plus in one pass, keep, fix, kill, then trim only the keepers. Bouncing between review and editing for each clip is slower.
Re-uploading a compressed copy. A clip inherits the quality of its source. If you downloaded a lower-resolution export to clip from, the clip will look soft. Start from the original upload or a public URL, not a re-compressed file.
Posting the AI's exact cut points untouched. Detection finds the region, not the perfect frame. Even a quick frame-step of the lead-in and tail lifts most clips above the raw auto-cut, and that's the one job desktop does best.
Skipping the reframe check on the big screen. A 9:16 crop that looks fine in a small preview can cut a speaker's chin off at full size. Confirm the active speaker stays framed before you export. For multi-track sources like a Zoom recording or a Riverside recording, check the right speaker is in frame for each clip.
FAQ
Can I make podcast clips entirely in a desktop browser? Yes. Paste the episode's public URL or upload the file, run a browser-based AI clipper to generate and caption clips, then trim and post the keepers, all in the browser, no app install. Desktop is the better screen for frame-exact trims, batch review, and laying out a week of posts.
What makes desktop clipping faster than doing it on a phone? The keyboard and the screen size. Arrow keys step one frame at a time for exact cuts, J/K/L scrubs without a tiny handle, and a wide monitor lets you review a full episode's candidates in one pass. A phone is fine for picking and posting a few clips; desktop wins on precision and volume.
Do I need to download my episode to clip it on a computer? Not if it's on a public link. If your show is on YouTube or any public URL, paste the link and the tool fetches the stream, no download or upload. If it's audio-only, the full path is in making clips from an audio-only podcast. Only upload a file when there's no public URL.
Which keyboard shortcuts should I learn first? Space to play and pause, J/K/L to scrub back, stop, and forward, the left and right arrows to step one frame, and I and O to set the in-point and out-point. Exact bindings vary by tool, so check its shortcut list, but those five cover most of a trim.
Does a desktop-made clip look better than a phone-made one? Not inherently, both inherit the quality of the source file or stream. The desktop advantage is the editing, not the output: more precise trims, cleaner caption placement, and faster batch work. Start from a high-quality source on either device and the finished clip looks the same.