
How To Make Clips From a Riverside Recording

To make clips from a Riverside recording, export the clean source, not a re-compressed file. Pull the separate, locally-recorded high-resolution tracks (or a finished edit exported at 1080p or 4K), then run that through a clipper. Riverside records each speaker locally on their own device at up to 4K, so the raw source is the best footage you will ever have of that episode. The mistake is clipping from a downscaled or watermarked file and losing that quality for nothing.
Riverside has its own clip tool, Magic Clips, built into the editor. It is genuinely useful as a first pass. But it caps how many clips you get on lower plans, ships block-style captions instead of word-by-word, and only works on content recorded inside Riverside. If you want more clips, animated captions, and the freedom to push the same set to several platforms, you pull a clean export and clip outside Riverside. This guide covers exactly which export to grab and how to turn it into a week of posts.
Which Riverside export do I use for clipping?
Use the finished edit exported at 1080p or 4K, or, if you are clipping a single speaker or doing audio-led work, the separate high-quality tracks. Riverside records every participant locally at up to 2160p (4K) and 44.1/48 kHz audio (Riverside Help), so the source is high-resolution before the internet ever touches it. Export from the editor at full resolution and you keep that quality. Clip from a 720p watermarked preview and you throw it away.
There are three things you can download, and they are not interchangeable:
| Export | What it is | Use it to clip when |
|---|---|---|
| Finished edit (Share → Video) | Your edited episode, rendered at 720p/1080p/4K | You have already trimmed and cleaned the episode, clip this |
| Separate high-quality tracks | Each speaker's raw local file, up to 4K | You want one speaker isolated, or full layout control downstream |
| All tracks (ZIP) | Every participant's track in one package | You will rebuild the layout in another editor |
One detail that trips people up: the Recordings tab holds raw, unedited captures only, none of your edits live there (Riverside Help). If you removed filler words, closed gaps, or ran noise reduction, you have to export from inside the edit, not from Recordings, or your clips will carry every "um" you already cut.
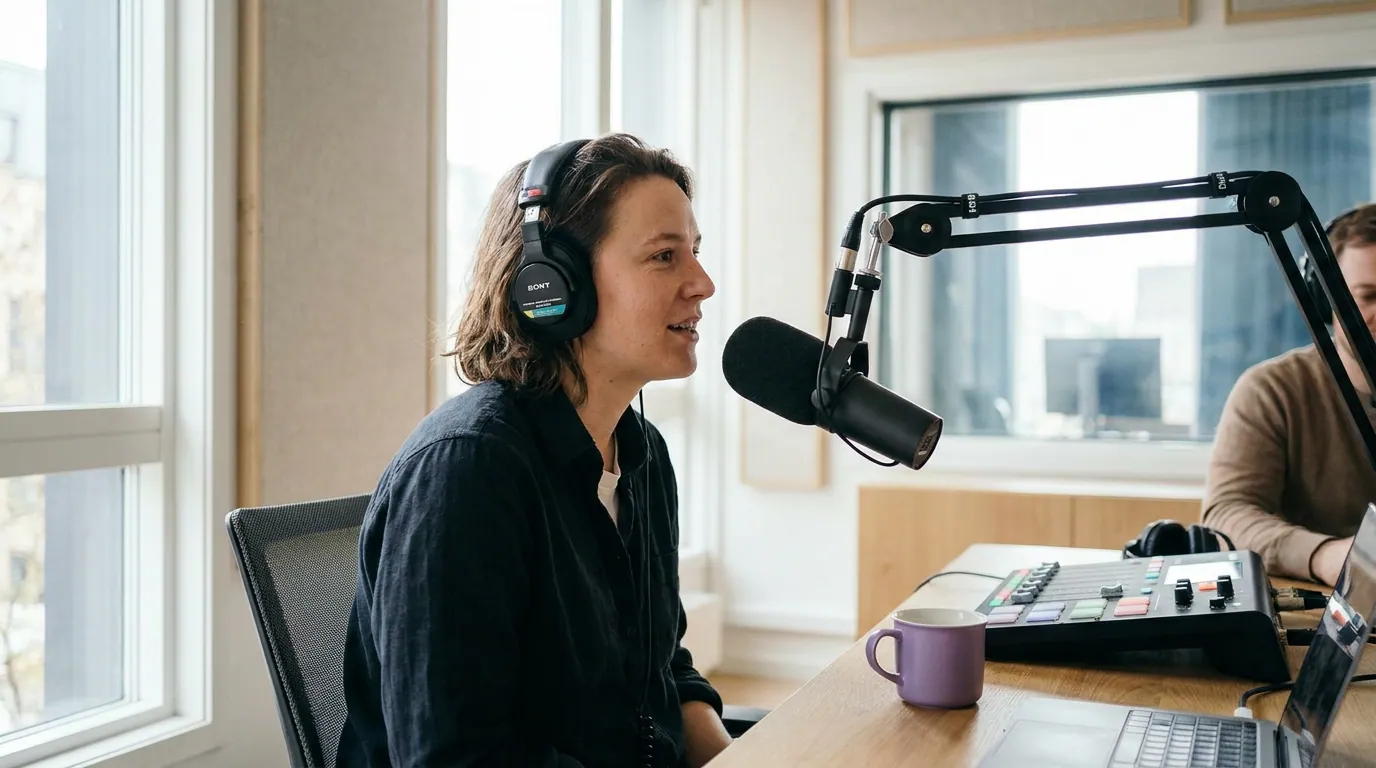
Why it matters: clips are most of your new audience
Because the clips are where new listeners find you, and the source quality shows. Short clips drive an estimated 20–40% of new audience for video shows (Podcast Studio Glasgow), and for many shows the clips now out-reach the full episode by a wide margin. A Riverside recording gives you an advantage most clips never have: locally-captured, high-resolution video instead of a laggy, compressed call. Clip from the clean source and that advantage carries through to the feed; clip from a downscaled preview and you hand it back.
There is a real plan caveat to plan around. Riverside's free plan caps multi-track downloads at 2 hours and limits video to 720p with a watermark (Riverside pricing). If you are on free and want full-resolution, watermark-free source to clip from, you either upgrade or you toggle the watermark off on export where your plan allows it before you pull the file.
The steps: turn a Riverside recording into clips
- Finish the edit first. Trim the open, cut the dead spots, run noise reduction if you need it. Clips inherit whatever is in the edit, so fix it once at the episode level.
- Export at full resolution with the watermark off. In the editor, click Share, choose Video, pick 1080p or 4K, and toggle off the watermark (Riverside Help). Grab the download promptly, Riverside's export links expire after seven days.
- Decide: separate tracks or the combined edit. For a two-person video clip where you want both faces, use the combined edit. For audio-led clips, a single-speaker focus, or full reframing control, pull the separate tracks instead.
- Run it through a clipper. Upload that clean file to your clipper of choice. It finds candidate moments and auto-captions them, which is where most of the manual hours go.
- Pick the 5–10 that stand alone. A clip has to make sense to someone who missed everything before it. Reject anything that needs the previous five minutes to land. (If you are leaning on AI suggestions, sanity-check them, see how to pick the best AI-suggested clips.)
- Reframe to 9:16, caption, and review. Center the active speaker, burn in captions, fix any name or number the transcript got wrong, then schedule.
A 20-minute video typically yields 20–30 raw pieces (industry norm), but you do not post all of them. Post the handful that earn the swipe. The same workflow applies whether your source started in Riverside, a YouTube podcast video, or a Zoom recording, the only thing that changes is which export you pull.

Magic Clips vs. an external clipper: which gives more control?
Riverside's built-in Magic Clips is the faster start; an external clipper gives more clips, animated captions, and multi-platform reuse. Magic Clips analyzes the recording for keyword relevance, sentiment, and speaker energy, then generates 9:16 clips with a virality score and auto-captions (Riverside Help). It is good at one thing: pointing you at where the high-signal moments are, right inside the tool you already recorded in.
The limits are real and worth naming. Magic Clips caps how many clip sets you get per recording, roughly 1 set on the free and entry plans, 3 on Pro, and 5 on Business (Blitzcut, Riverside Magic Clips review, 2026), its captions are static block-style rather than word-by-word, and it works on content recorded or uploaded inside Riverside. An external clipper sidesteps all three: unlimited candidate moments per episode, animated captions that hold attention, and the same clip set pushed to several platforms. The honest framing both ways: every AI clipper, Magic Clips included, still needs roughly 20–40% human review to fix a cut point, a caption typo, or a moment that needs the previous minute to land. The tool finds candidates; you make the calls.
Common mistakes (and the fix)
- Clipping from a 720p watermarked preview. You bought 4K-quality source and threw it away. Fix: export the finished edit at 1080p/4K with the watermark toggled off, then clip that.
- Downloading from the Recordings tab. Those are raw captures, none of your edits exist there (Riverside Help). Fix: export from inside the edit so your trims and noise reduction carry through.
- Letting the export link expire. Riverside's download links die after seven days. Fix: grab the file the day you export, or re-run the export later.
- Posting all 20–30 candidate clips. Filler trains every feed to stop showing you. Fix: post the 5–10 that stand alone on their own.
- Re-exporting one speaker and expecting the side-by-side layout. Muting a speaker in the Tracks panel drops the dual-view layout to a single full-screen view. Fix: rebuild the two-up layout in your destination editor, or clip the combined edit when you want both faces.
Tools
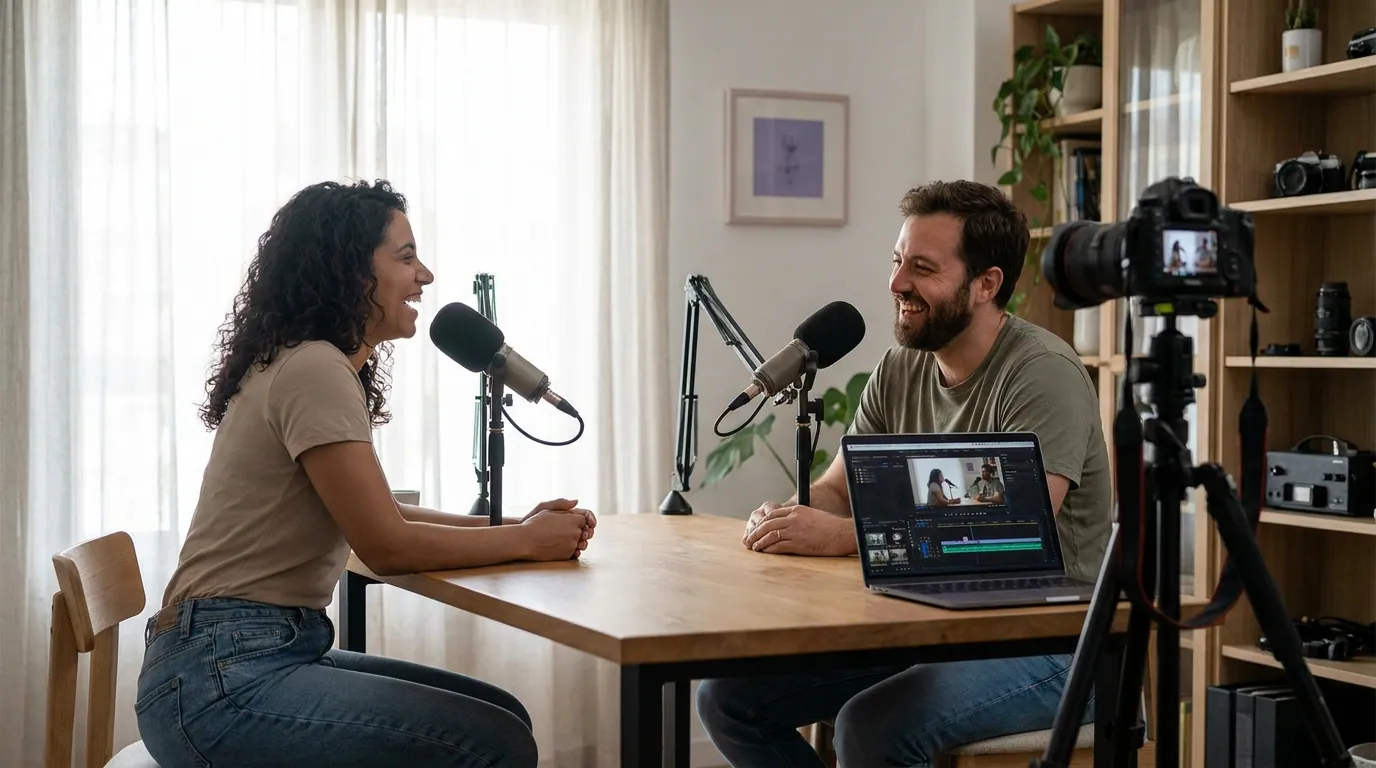
You can clip a Riverside export by hand in CapCut or Premiere, reframe to 9:16, burn captions, done. That is fine for a couple of clips; it gets slow at 5–10 per episode across platforms. Magic Clips speeds the find-and-cut step inside Riverside but is bounded by clip-set limits and static captions. A dedicated clipper takes any clean export and does the find-and-cut, animated captions, reframing, and scheduling in one pass. QuickReel is freemium ($9 Starter, ~$17.40 Pro at current pricing), reframes to 9:16, ships 12+ caption styles and 20+ languages, and schedules to multiple platforms, which matters when the same Riverside episode also feeds a YouTube podcast clip set or an audio-only edit. If you want to understand what the AI is actually doing when it picks moments, here's how AI clip detection works.
FAQ
What's the best Riverside export for making clips? The finished edit, exported at 1080p or 4K with the watermark off. Riverside records each speaker locally at up to 4K (Riverside Help), so a full-resolution export preserves the best footage you have. For single-speaker or audio-led clips, pull the separate high-quality tracks instead.
Should I use Riverside Magic Clips or an external tool? Use Magic Clips for a quick first pass inside Riverside, especially to find where the strong moments are. Switch to an external clipper when you want more clips per episode, animated word-by-word captions, or to schedule the same set across several platforms, Magic Clips caps clip sets by plan and ships static captions.
Do I lose quality clipping a Riverside recording? Only if you clip from the wrong file. A 720p watermarked preview or a screen recording of playback re-compresses your footage. Export the edit at full resolution first, then clip that, and the local high-resolution source carries through to the clip.
Can I clip a Riverside recording on the free plan? Yes, with a limit. The free plan allows 2 hours of multi-track downloads and caps video at 720p with a watermark (Riverside pricing). For full-resolution, watermark-free source, upgrade or use the watermark toggle where your plan allows it before downloading.
How many clips should I make from one Riverside episode? Pull 5–10 clips that each stand alone, even though a 20-minute episode can yield 20–30 raw candidates (industry norm). Post the ones that make sense to a stranger who missed the rest; skip the filler.