
Three-Point Lighting for a Video Podcast

Put one bright key light about 45 degrees to one side of the camera and slightly above eye level, roughly an arm's length and a half from your face. Add a softer fill on the opposite side at about half the key's brightness. Then a small rim light behind you, aimed at your hair and shoulders. That is three-point lighting, and it is the entire setup.
The numbers are what make it repeatable. Most lighting guides hand you a triangle and a vibe; this one hands you angles, a distance, and a brightness ratio you can dial in the same way every session. Get the geometry right and a $90 webcam looks like a studio. Get it wrong and a $2,000 mirrorless looks like a hostage video.
One rule before you spend anything: the gap between a cheap and a pricey light is smaller than the gap between flat front light and a properly placed key. After rigging rooms on budgets from $150 to $5,000, the consistent lesson is that placement is free and it outweighs almost any fixture upgrade. Buy that skill first.
What is three-point lighting for a video podcast?
Three-point lighting uses a key (your main, brightest light at 45 degrees off-camera), a fill (a dimmer light on the opposite side that softens the shadow), and a rim or back light (behind you, separating you from the background). For a seated talking-head podcast, that arrangement gives a natural, dimensional face, the standard StreamYard teaches for key/fill/back setups.
Each light has one job. The key sets the exposure and the mood, it is the light a viewer's eye reads first. The fill exists only to keep the shadow side from going black, not to erase the shadow. The rim draws a thin bright edge along your hair and shoulder so your head doesn't melt into a dark wall. Skip the rim and your picture still works; skip the key's angle and nothing else can save it.
The reason it works on a face is that human eyes expect light to come from above and to one side, the way the sun does. Light a face flat-on and it looks like a passport photo, no nose shadow, no cheekbone, no depth. Offset the key and the face gets a gentle gradient that reads as three-dimensional on a flat sensor.
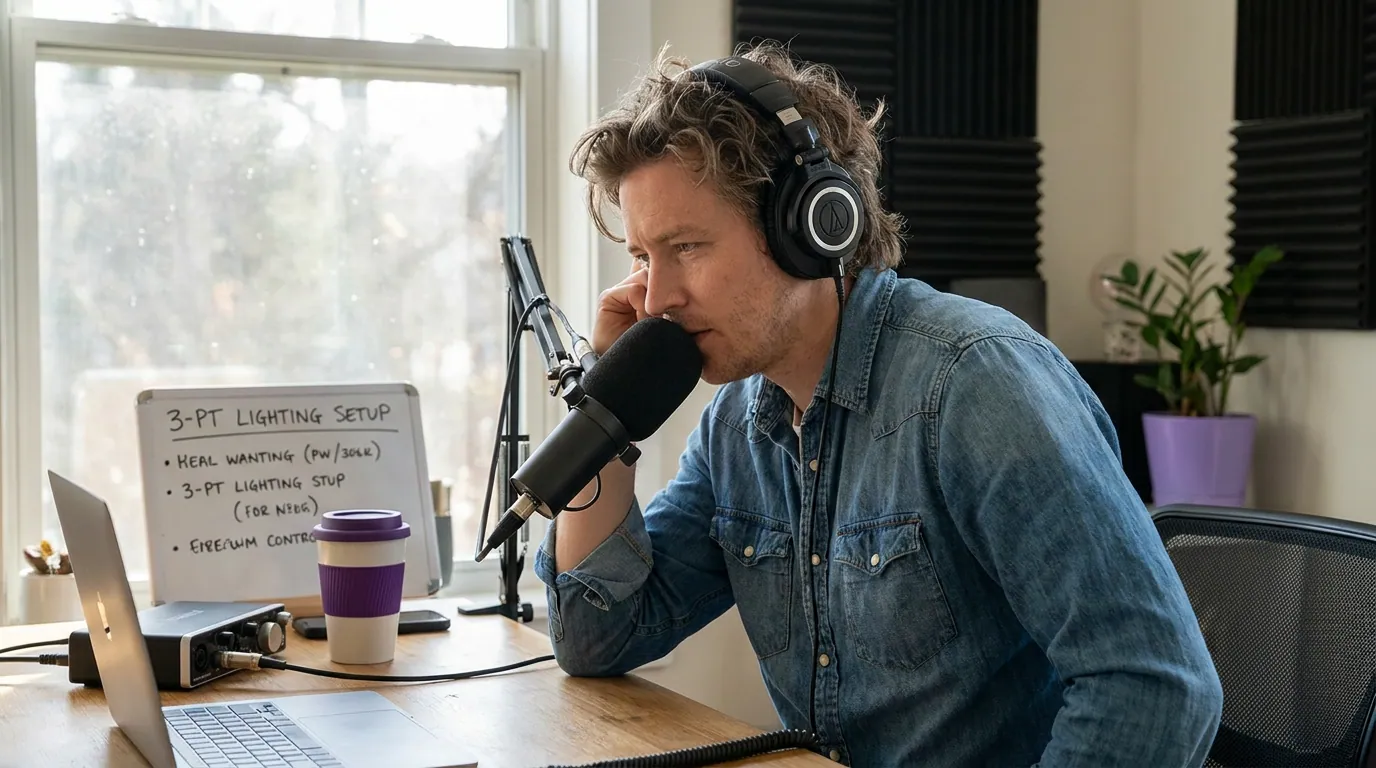
The placement, by numbers
These are starting values. Faces differ; treat them as a tuned default you adjust, not a law.
- Key light, 45 degrees, eye level + a little. Stand it about 45 degrees off the camera-to-face line, on whichever side feels natural, 45 degrees is StreamYard's pick from a workable 15-to-70-degree range. Raise it so the bulb sits a touch above your eyes and angle it down maybe 15 degrees. That extra height is the part guides skip; it puts a catchlight (a tiny reflection) in your eyes and drops the nose shadow downward instead of across the cheek.
- Key distance, about 3 feet, diffused. StreamYard's floor is roughly 3 feet from your face; treat that as a starting point, not a wall. Closer is softer, because a bigger, nearer light source wraps around the face, so if you have a large softbox, push it in and dial the brightness down. A bare bulb across the room is the hard, ugly opposite.
- Fill light, opposite side, about half the key. Put the fill on the other side of the camera at a wider, flatter angle and turn it down to roughly half the key's output. That is a 2:1 key-to-fill ratio, the friendly default StudioBinder names for interviews (StreamYard puts the fill at 50-75% of the key, which is the same neighborhood). The fill should lift the shadow, never match the key.
- Rim light, behind you, low, off your skin. Place it behind and above you, pointed at your hair and the tops of your shoulders. Keep it dim, you want a thin bright edge, not a glowing halo. If it spills onto your cheek, swing it further behind you.
- Background, light it separately. None of the three lights above should be doing double duty on your wall. A small lamp or LED bar on the background, set lower than your key, keeps depth between you and it. (More on this in designing a podcast backdrop that doesn't distract.)
The mistakes each setup fixes
Most bad podcast lighting is one of four specific errors. Here is what causes each and the exact placement move that fixes it.
- Flat, washed-out face → move the key off-center. This is the ring-light-dead-ahead look: even, shadowless, and lifeless. The fix is mechanical, slide the key to 45 degrees so one cheek is brighter than the other. Depth comes from the difference between the two sides.
- Glasses glare → raise the key and widen the angle. A reflection of the light bar sitting in your lenses comes from a light that is too low and too dead-ahead. Raise the key higher and angle it down, and push it further to the side. If a hot spot remains, tip your chin down a few degrees or angle the glasses' arms up slightly.
- Harsh nose and eye-socket shadows ("cave face") → diffuse and lift the fill. Hard shadows mean a small, bare, or too-distant light. Add diffusion (a softbox or even a white shower curtain), bring the key closer, then raise the fill until the shadow softens to a gradient rather than a hole.
- Head melting into a dark wall → that's the rim light's whole job. No separation is the single most common video-podcast tell. A low rim light behind you draws the edge that pops your silhouette off the background. No rim handy? Move yourself further from the wall and put any light on the background instead.
Get framing wrong and good lighting still can't save the shot, pair this with framing and composition for a talking-head podcast, and if you're still assembling the rest of the rig, how to film a video podcast for the first time covers camera, mic, and room together.
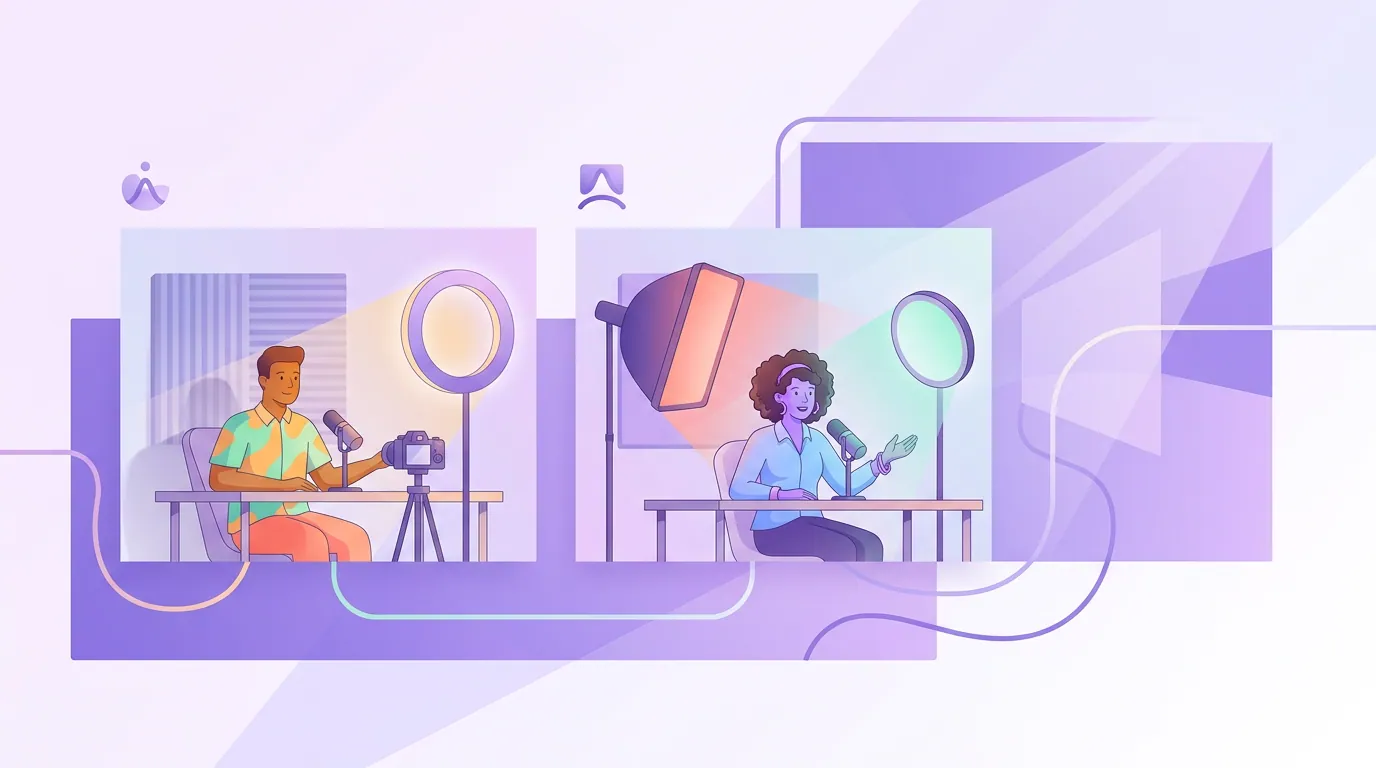
Small-room fallbacks: one light and two lights
Three lights need floor space and outlets you may not have. Both fallbacks below still beat flat front light, because both keep the key off-axis.
One light: put your single light as the key at 45 degrees, diffused. Then stand a white foam board, poster, or even a bright wall on the opposite side, close to your face. It bounces the key back as a soft, free fill. This one move turns a single light into a flattering two-source look at zero extra cost.
Two lights: use one as the key at 45 degrees and the second as a rim behind you. Skip the fill entirely. A key-plus-rim setup gives you both shaping and separation, the two things that read most on camera, and lets the shadow side stay naturally moody. For tight rooms this often beats a flat three-light arrangement crammed against the walls.
A note on existing light: a big window beside you makes an excellent free key during the day. Sit so the window hits your face at 45 degrees, not behind you (which turns you into a silhouette), and add a bounce card on the dark side. Just be aware daylight shifts color over a recording, so it's hard to repeat session to session.
Lighting FAQ
Do I need three lights for a video podcast? No. One diffused key at 45 degrees plus a white bounce card on the opposite side already looks good. Three lights add separation and polish, but the single biggest jump in quality is moving from a flat dead-ahead light to one offset key. Add the fill and rim only when the basics are dialed in.
Where exactly should the key light go? About 45 degrees to one side of the camera, the angle StreamYard recommends for key/fill/back setups, and roughly 3 feet from your face, diffused. Then raise it a touch above eye level and tilt it down about 15 degrees. That last move puts a catchlight in your eyes and drops the nose shadow downward instead of across the cheek.
How do I stop glare on my glasses? Raise the key higher, angle it downward, and push it further to the side, away from the camera axis. Glare is a reflection of a light that sits too low and too central. If a hot spot survives, drop your chin a few degrees or tilt the glasses' arms up so the lenses angle the reflection toward the floor.
Should I use daylight or warm white bulbs? Pick one color temperature and match every light to it. Daylight (around 5600K) reads clean and modern; warm white (around 3200K) reads cozy. Mixing them tints half your face a different color, which the camera renders as an uneven, slightly sickly skin tone. Consistency beats the specific choice.
What's the cheapest way to light a podcast well? A window for your key and a piece of white foam board as a bounce: zero dollars. The next step up is one diffused LED panel or a clamp light with a softbox. Spend on placement skill before fixtures, see the budget-by-tier lighting kit guide when you're ready to buy.
Lighting is the rare upgrade where the right move costs nothing and the wrong gear costs a lot. Offset your key, soften it, lift the shadow halfway, and trace your edge with a rim. Do that and your video podcast already looks deliberate, before you've touched the camera, the mic, or whether you need one camera or several.