
Best Lighting Kits for Video Podcasts, by Budget

For a video podcast, buy a single diffused key light first, add a softer fill second, and a small rim light third. The best starting pick for most hosts is one Bowens-mount COB light into a softbox, around $130–$180 (B&H, Adorama, mid-2026). Get CRI 95+ with a real R9 rating and a high enough PWM frequency to stay flicker-free on camera. That order, not the gear, is where the picture comes from.
Here is the rule worth tattooing on the inside of your eyelids before you spend anything: 30 minutes of lighting work beats a $1,000 camera. A $600 mirrorless lit badly looks like a webcam. A webcam lit well looks like a show. The sensor records whatever light you give it, if the light is flat, green-tinted, or full of hard shadows, no amount of megapixels rescues it. Lighting is the one upgrade where a $100 spend and ten minutes of placement out-earns the next four price tiers of camera.
This page gives you one verified pick per budget band, with street prices checked against retailer pages in mid-2026. Then it explains the two specs the box marketing hides, CRI 95 with R9, and flicker-free at high frame rates, because both are where cheap lights quietly fail. Prices move; re-check before you buy.
What's the best lighting setup for a video podcast?
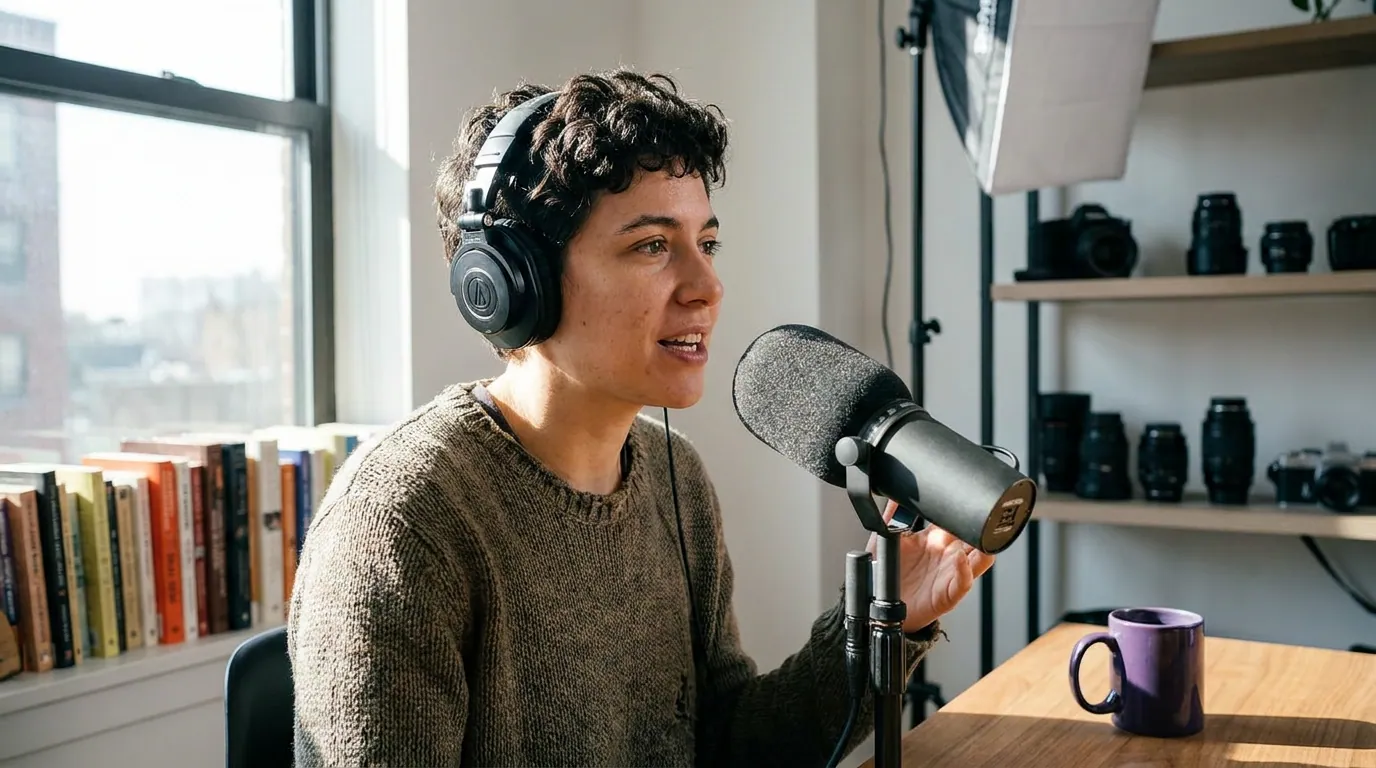
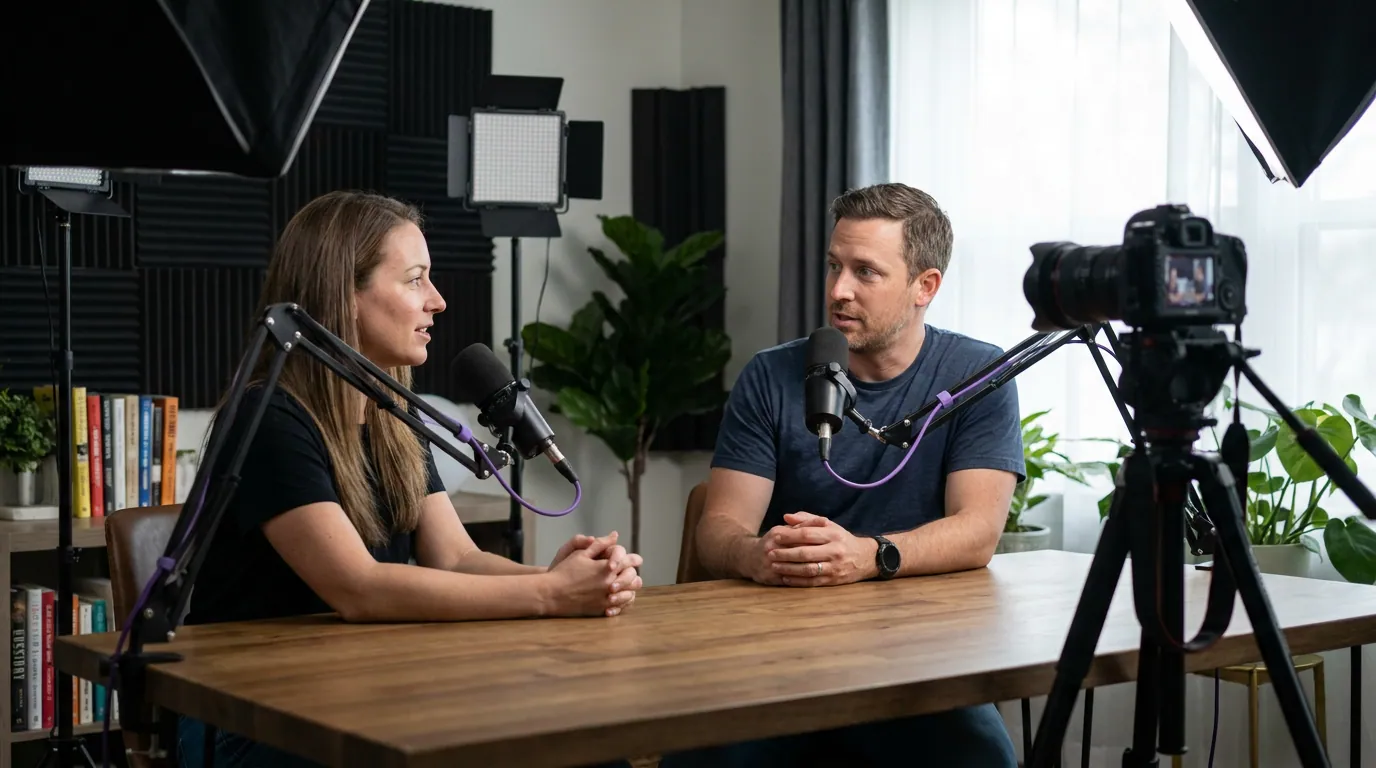
A diffused single key light at 45 degrees, slightly above eye level, is the best setup for most video podcasts, it does most of the work alone. Add a weaker fill opposite to soften the shadow side, then a small rim light behind you for separation from the wall. This three-point arrangement, with CRI 95+ lights, is the standard StreamYard teaches.
The geometry matters more than the brand. Your key is the brightest light and sets the mood; place it roughly 30–45 degrees off the camera axis and angled slightly down so it puts a catchlight in your eyes (StreamYard). The fill sits on the opposite side at lower power, its job is to reveal detail in the shadow, not erase it. Keep the key-to-fill ratio around 2:1 for a friendly interview look (StreamYard). The rim light goes behind and above you, aimed at your hair and shoulders, dialed low so it traces an edge rather than a halo.
One non-obvious rule from people who light faces for a living: don't buy three identical lights. Buy one good key and two cheaper, softer fills. The eye reads the brightest source first, so that's the one worth your money (GVM). The other two only need to be soft and color-matched.
The picks, by budget
Each tier below is one definitive recommendation, not a wall of options. Prices are single-unit or kit street prices verified on retailer pages in mid-2026, and they fluctuate with sales and tariffs, so confirm before buying.
Tier 0, Free: a window and a white wall
Best for: anyone testing whether they'll stick with video before spending a dollar. Put a north-facing window in front of you (not behind), at roughly 45 degrees, and sit a few feet off a light wall to bounce some fill. Daylight has a perfect CRI of 100 by definition, it's the reference every light is measured against (Waveform Lighting). The catch is consistency: the sun moves, clouds change your exposure mid-episode, and you can only record in daylight hours. Still, free window light beats a badly placed $200 panel.
Tier 1, ~$40: a clamp light with a daylight bulb
Best for: the absolute minimum that looks intentional. A photography clamp light with a 5600K, CRI-95 LED bulb, clamped to a shelf and bounced off a wall or through a $10 diffusion sheet, gets you a controllable key for around $40. The con is real: no battery, limited brightness, and you're rigging it yourself. But it removes your dependence on the weather, and bounced off a wall it's surprisingly soft. Treat it as a stepping stone, not a destination.
Tier 2, ~$80: Neewer 660 RGB panel
Best for: the desk-based solo host who wants set-and-forget. The Neewer 660 PRO RGB is an edge-lit LED panel rated CRI 97+, adjustable 3200K–5600K, with app control, tracked around $79–86 for a single unit (Amazon, mid-2026). Panels are forgiving, bright enough for one face, and the bi-color control means you can match your room. The con: a bare panel is a hard, flat source, its built-in diffusion is mild, so you'll still get harder shadows than a softbox gives. Aim it through a $15 diffusion panel and the difference is real.
Tier 3, ~$150: Godox SL60IID into a softbox (the sweet spot)
Best for: most serious video podcasters. This is the pick. The Godox SL60IID is a 70W Bowens-mount COB (point-source) light rated CRI 96+ / TLCI 97+, listed at $139 and frequently on sale around $119 (B&H, mid-2026). The Bowens mount is the whole point: it accepts any softbox, so a ~$40 softbox turns it into a big, genuinely soft key. Point-source plus softbox is how studios get that wrapping, flattering light a flat panel can't fake. The con is that you're assembling two pieces and it's not battery-powered. For a fixed desk, that doesn't matter.
Tier 4, ~$180/light: Amaran 100d S
Best for: hosts who film multiple guests or want cinematic color. The Amaran 100d S (made by Aputure) is a 100W daylight COB rated CRI 96+ / TLCI 99+, tracked around $179 (B&H, mid-2026). It's brighter than the Godox, Bowens-mount, and its dual-blue chipset is a real step up in color science, its TLCI 99 is among the highest at this price, worth it once you're lighting two or three faces. The con is honest: for a single talking head, the Godox already looks great and this is overkill. Buy it when you outgrow one key. (Aputure replaced the older 100d with this 100d S, so buy the S, same money, better color.)
Tier 5, ~$540: a full three-light Amaran kit
Best for: a multi-guest set or a studio you'll keep. Two Amaran 100d S as key and fill (about $358 the pair) plus a smaller light for rim, two softboxes, and two stands lands roughly $500–$560 all in (B&H component prices, mid-2026). This is broadcast-adjacent and most shows never need it. If you're lighting a three-person panel where everyone has to look right on camera, it's the cost of doing that properly.
Comparison table
| Tier (price) | Pick | The honest con |
|---|---|---|
| Free | Window + white wall | Inconsistent; daylight hours only |
| ~$40 | Clamp light, CRI-95 bulb | Dim, no battery, you rig it |
| ~$80 | Neewer 660 RGB panel | Flat source; diffuse it |
| ~$150 | Godox SL60IID + softbox | Two pieces; mains power |
| ~$180/light | Amaran 100d S | Overkill for one face |
| ~$540 | 3-light Amaran kit | Most shows never need it |
Prices: Neewer (Amazon), Godox SL60IID (B&H), Amaran 100d S (B&H), all mid-2026 street prices.
Why CRI 95 matters, and the R9 trap on the box
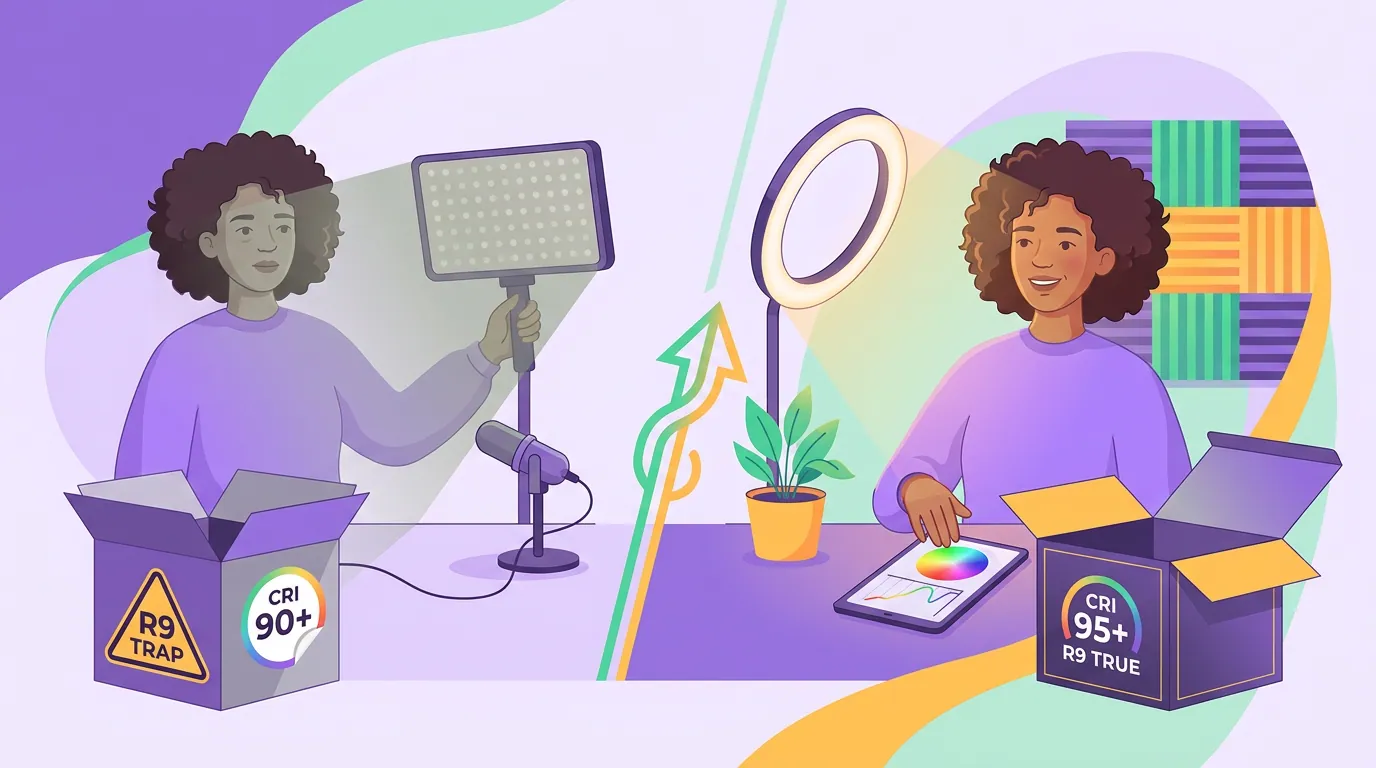
CRI (Color Rendering Index) measures how accurately a light shows colors versus natural sunlight, which scores a perfect 100; 95 is the floor for anything on camera, because color errors bake into the footage and can't be fixed in post (Waveform Lighting). The gap is bigger than one number suggests: a typical CRI 80 light renders deep red (R9) at roughly 25, while a CRI 95 light hits about 90 (Waveform Lighting). Skin is the color viewers judge instinctively, so getting that red right is the difference between "looks pro" and "looks off."
Here's the part the marketing exploits. The headline CRI number is an average of eight pastel test colors, and it deliberately excludes deep saturated red (Studio Supplies). That color, called R9, is exactly what healthy skin tone depends on. A light can advertise "CRI 95+" while its R9 sits in the 30s or 40s, which is why so many cheap "high-CRI" lights still make people look sickly and slightly green (Studio Supplies). For on-camera work, look for an R9 of 90+, or a TLCI rating (the video-specific equivalent), not just the big CRI number.
This is the single most useful buying filter on this page: the box prints CRI; ask for R9 or TLCI. The Godox publishes TLCI 97 and the Amaran 100d S publishes TLCI 99, which is why they're the recommendations and a no-name panel at the same price isn't.
The flicker-free spec cheap lights ignore (and 4K makes worse)
Most LED lights aren't producing constant light, they pulse on and off via PWM (pulse-width modulation) to control brightness, and when that pulse rate is too low, your camera catches it as flicker or rolling dark bands across the frame (Waveform Lighting). The fix is a high PWM frequency: 25 kHz (25,000 Hz) or above is the benchmark that stays clean even at high frame rates and fast shutters (Waveform Lighting). Cheap lights skip this, run a few hundred hertz, and look fine to your eye but band on camera.
This is where the "flicker-free for 4K" caveat earns its place. 4K resolution doesn't cause flicker by itself, frame rate and shutter speed do, but banding that hid in a soft 1080p frame becomes obvious and hard to remove in sharp 4K (Waveform Lighting). If you shoot 4K so you can crop sharp vertical clips out of one wide frame (see the camera-by-budget guide for why that's worth doing), a low-PWM light will sabotage every one of those clips with bands you can't caption over.
Two practical moves. First, buy lights that publish a flicker-free or high-PWM spec, the Godox and Amaran picks above are rated for it. Second, before any real recording, run the smartphone slow-mo test: point a phone's slow-motion camera at the light for five seconds and play it back; visible flashing means it'll band on your real camera (per the standard field test). It costs nothing and saves a ruined episode.
How I'd actually spend it
If you have one number in mind, here's the order. Under $100: the Neewer 660 as a single key, diffused. Around $150: the Godox SL60IID into a softbox, this is the answer for most people, full stop. $180–$540: add Amaran 100d S lights as you add guests. Above that, you're buying a studio, not a podcast setup.
And remember the rule this page opened with. Once your light is right, your next dollar belongs on audio, not on a fancier light. Listeners forgive a soft picture; they leave over bad sound. Pair your key light with a real mic from the mics-by-budget guide, even a budget USB pick under $100, before you spend tier 5 money on light.
Frequently asked questions
Do I need a softbox or is a panel enough?
A panel is enough to start, but a softbox makes a single point-source light visibly softer and more flattering, especially on close-up faces. A bare LED panel is already partly diffused, so it's fine for one host at a desk. If you want the wrapping, shadow-free look studios get, put a Bowens-mount COB like the Godox SL60IID into a softbox, it's the biggest single jump in light quality for about $40 of softbox.
How much should a beginner spend on podcast lighting?
Around $80–$150 covers a beginner video podcast well. A single CRI-95 panel or a COB-and-softbox key, placed at 45 degrees, transforms footage more than any other spend at that price. Equipment guides put a usable budget lighting tier at roughly $70–$300 (Ausha). Don't buy a three-light kit on day one; nail one key light first.
What's the difference between CRI and R9, and why care?
CRI is the headline color-accuracy score, but it averages eight pastel colors and leaves out deep saturated red, called R9. Skin tone depends heavily on red, so a light can claim "CRI 95" while rendering skin poorly if its R9 is low (Studio Supplies). For on-camera work, check for R9 90+ or a TLCI rating, not just the big CRI number on the box.
Will cheap LED lights flicker on camera?
They can. Many budget LEDs pulse via PWM at a low frequency that your eye misses but your camera records as flicker or banding, and it gets worse at high frame rates and in sharp 4K (Waveform Lighting). Buy lights rated for high-PWM or flicker-free operation (25 kHz+), and run a phone slow-mo test before recording to confirm.
Is lighting really more important than the camera?
Yes, up to a point. A modest camera lit well looks better than an expensive camera lit badly, because the sensor only records the light you give it. Spend on a single good key light before you upgrade the body. Once your lighting is solid, your next dollar should go to audio, not a pricier camera.