
How to Film a Video Podcast the First Time

To film a video podcast the first time, work in order rather than from a gear list: set up the room and the framing first, run a five-point camera check before anyone sits down, record a 30-second test and actually watch it back, then start. The first-timer mistakes that ruin a recording all happen at the start, wrong frame rate, no clean audio, a face in shadow, so a fixed sequence beats a pile of equipment.
This is a shoot-day runbook, ordered the way you will actually hit problems, not a list of things to buy. You can film a perfectly good first episode on a recent phone and one borrowed light. What separates a usable recording from a wasted afternoon is the sequence below: what to set up first, the settings to lock before you press record, and a short list you run during the first minute while your guest is still warming up.
Why a watchable first episode is worth the setup
A first episode you can watch, and clip, is worth the extra hour because the audience for new shows now leans toward video, and video is what gives a small show somewhere to be discovered. 53% of new US weekly listeners say they prefer to watch a podcast, up from 30% in April 2022 (Backlinko). Film it once and you have an audio episode, a YouTube upload, and clip material from the same hour.
One honest caveat before the gear question even comes up: filming adds work, and added work is the most common reason new shows quit. Nearly half of all podcasts stop at three episodes or fewer Amplifi Mediasummarizing podfade data). A repeatable shoot-day routine is the antidote, when setup is a checklist instead of a fresh panic each time, you keep recording. That is what this runbook is for.
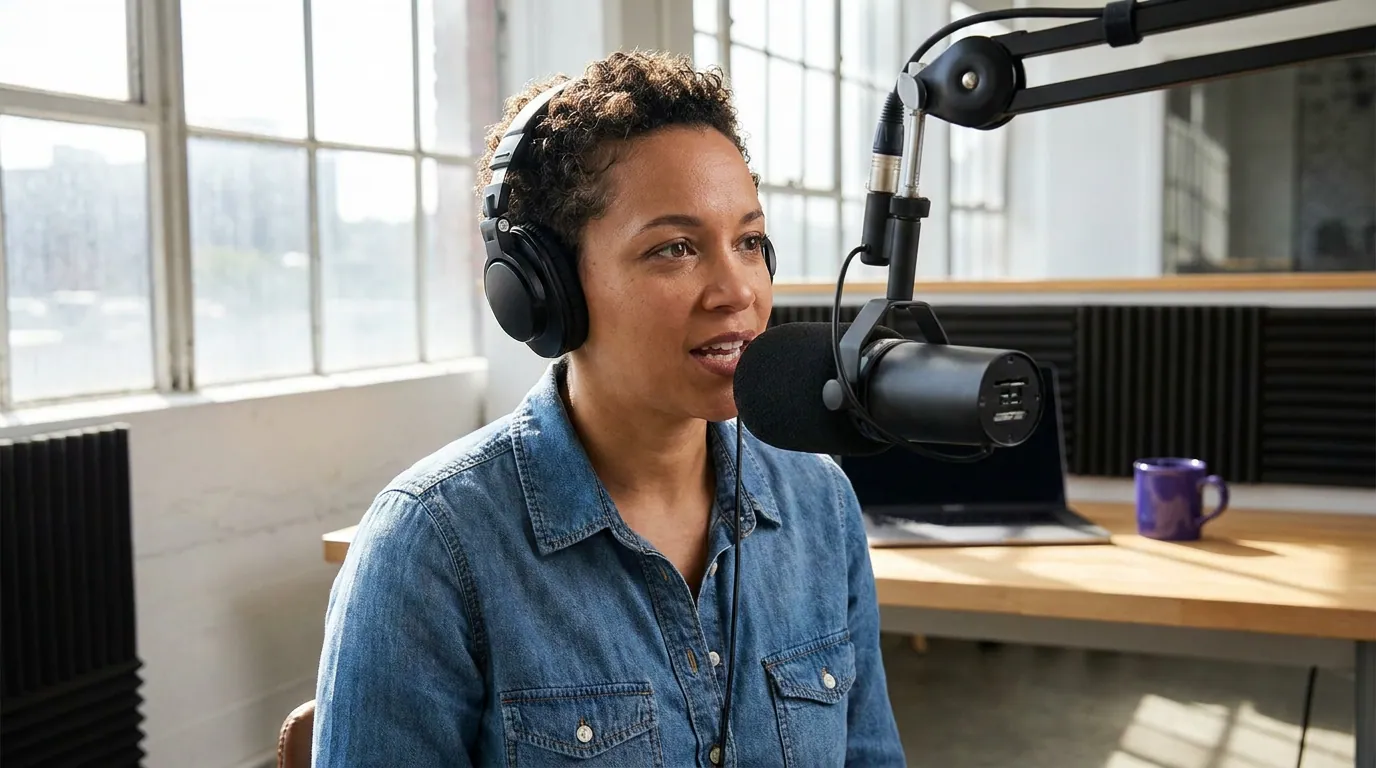
The shoot-day runbook, in order
Run these five phases in sequence. Each one closes off a problem before it can reach the recording, so by the time anyone sits down, the only thing left to do is talk.
Phase 1, Set the room (before any camera)
Decide where people sit and where the mic lives first, because everything downstream depends on it. Put each speaker where a plain, uncluttered wall sits a few feet behind them, a busy background pulls the eye and crops badly for vertical clips later. Place a dedicated microphone within a hand's width of each mouth; the camera's built-in mic sounds hollow and grabs the whole room, so plan to record audio on a real mic from the start (best podcast mics by budget, and a solid first mic under $100 if you are starting from zero). If you want the background to do quiet work for you, our guide to designing a podcast backdrop that doesn't distract covers the cheap wins.
Phase 2, Frame the shot
Now place the camera and frame the face. Set the lens at or just above eye level, a camera looking up the nose flatters no one, and compose so the eyes sit on the upper third of the frame with a little headroom. The rule that makes the whole show clippable: keep the speaker in the center third of a 16:9 frame, so that if you drew a 9:16 box down the middle, their eyes and mouth fall cleanly inside it. Then every vertical clip you pull later is already centered. For the deeper mechanics, see framing and composition for a talking-head podcast, and if you are deciding how many cameras to run, single versus multi-camera settles it before you over-buy.
Phase 3, Fix the light
A video podcast is faces talking, so the only lighting job that matters is making the face clear. One soft key light, diffused, slightly above eye level, about 45 degrees to one side, beats a bare bulb or overhead room light every time. Add a gentle fill on the opposite side if you have a second light; skip the fancy backlight on day one. The honest gear truth: the jump from a dark room to a well-lit face matters far more than the jump from a phone to a $1,500 camera. Buy light before you buy a better body. Our three-point lighting guide for a video podcast lays out the full kit when you are ready.
Phase 4, The five-setting camera check
This is the phase first-timers skip, and it is the one that wastes the afternoon. Before anyone sits down, verify five settings, in this order. The next section breaks each one down.
Phase 5, The pre-roll check
The final phase happens in the first 60 seconds of rolling, while your guest is still settling in. You keep the camera and audio running, run a short list, and catch the failures that only show up once recording starts. That checklist is at the end of this guide.
The five camera settings to verify before anyone sits down
Verify these five before your guest is in the seat, because every one of them is silent, nothing on screen warns you that the frame rate is wrong or the card is full until you are reviewing a ruined recording.
- Resolution and frame rate. Set 1080p (4K if your card and editor can handle it) at 24 or 30 frames per second, and set the same frame rate on every camera and recording app. Mixed frame rates are the classic first-timer trap: two cameras at 30 and 24 fps will not cut together cleanly later.
- Exposure. Get the face bright and evenly lit, then lock exposure manually. On auto, the camera re-meters every time you move or a cloud passes the window, so the brightness pulses through the episode. If there is a bright window behind a speaker, move them or close the blinds, a backlit face goes to silhouette.
- White balance. Match it to your actual light source instead of leaving it on auto. Auto white balance drifts as you move, turning skin orange under warm bulbs or blue near a window. Pick the preset that matches your key light and lock it.
- Focus. Lock focus on the face and turn off continuous autofocus. Left on, many cameras "hunt", softening and re-sharpening every time a hand moves into frame, which is distracting and unfixable in editing.
- Storage and battery. Confirm the card is empty with room for the whole episode and the camera is charged or, better, plugged in. Running out of storage at minute 38 of a great conversation is the most avoidable disaster on this list.
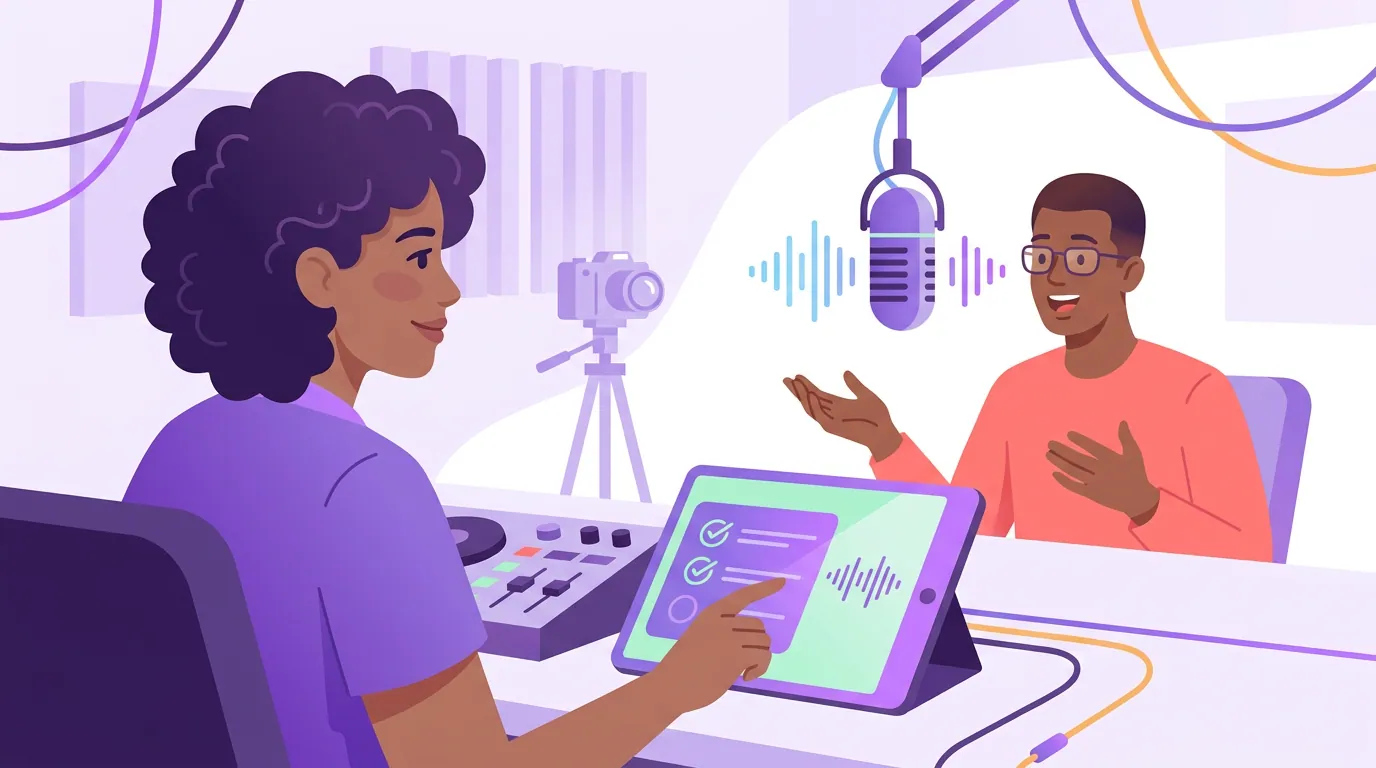
The pre-roll checklist (run it while the guest is still talking)
Start recording before the real conversation begins, then run this list during the first minute while your guest is warming up. The point is to catch the failures that only appear once everything is rolling, and to do it without making your guest sit through a stiff technical soundcheck.
- Both red lights are on. Confirm every camera and the audio recorder are actually rolling. Recording a flawless take on a camera that was never armed is a rite of passage you can skip.
- Audio is moving. Watch the level meter on your recorder bounce as each person speaks. Aim for peaks well below the top of the meter, loud but not pinned. If a meter is flat, that mic isn't capturing.
- Clap once. A single sharp clap where every camera sees it and the mic hears it gives you one spike to line up audio and video in editing. If you record long episodes, clap again at the very end to check for drift.
- Nothing is in shadow. Glance at the screen, not the room. A face that looked fine to your eye can sit in shadow on camera. Nudge the key light before, not after.
- Frame still holds for vertical. Confirm each speaker is still in the center third. People drift forward as they relax; a quick check now saves every clip later.
Because you are already rolling, this minute becomes a natural warm-up, your guest answers an easy throwaway question while you scan the list. Keep the recording; you can trim the front later.
Common first-time mistakes when filming a podcast
Five mistakes show up in nearly every first video podcast. Each has a one-line fix.
- Trusting the camera mic. On-camera audio is hollow and roomy. Fix: a dedicated mic close to each mouth, recorded separately (mic technique and placement if you want the details).
- Auto everything. Auto exposure, focus, and white balance all drift mid-episode. Fix: set them once and lock them before recording.
- Lighting the room, not the face. Overhead light makes everyone look tired. Fix: one soft key per speaker, 45 degrees and slightly above eye level.
- No sync plan. Separate audio and video slide apart over a long episode. Fix: clap at the start and end, or record audio and video together in one tool.
- Framing only for 16:9. Faces at the edges get cut off in every vertical clip. Fix: keep each speaker in the center third.
Frequently asked questions
Can I film a video podcast with just a phone? Yes. A recent phone on a tripod shoots clean, sharp video, and in soft light it beats a dedicated camera in a dark room. Lock the phone's exposure and focus by tapping and holding on the face, record audio on a separate mic, and you have a genuinely good first episode. Upgrade the camera once the show is a habit.
What camera settings matter most for a video podcast? Five: resolution and frame rate (1080p at 24 or 30 fps, identical across cameras), locked manual exposure, white balance matched to your light, locked focus on the face, and enough storage and battery for the full episode. All five are silent when wrong, so verify them before anyone sits down, not after.
How do I keep my audio and video in sync? Record clean audio on a separate device, then clap once at the start and once at the end of the recording. In editing you line up each clap's spike in the waveform with the frame where your hands meet; matching claps means no drift. Tools that record audio and video together in one file remove the problem entirely.
How long does it take to set up to film a podcast? After a few episodes, about 20 to 30 minutes: set the room and framing, fix one light, run the five-setting check, then catch the rest during your pre-roll minute. The first time will take longer. The reason to use a fixed runbook is that setup becomes faster and more reliable every time instead of a fresh scramble.
What does it cost to start filming a podcast? A workable video setup starts in the low hundreds, a phone or budget camera, one good mic per speaker, and one soft light. One cost guide puts a hobby podcast setup at roughly $100–$350 up front, with a full professional rig running $1,500–$5,000 (Ausha). You do not need the high end to film a usable first episode. The biggest return per dollar on day one is lighting, not a more expensive camera.
Set the room first, lock the five settings before anyone sits down, and run the pre-roll list while your guest warms up. Film three episodes that exact way before you change a single thing, the routine, not the gear, is what makes a first video podcast keep going.