
Podcast Mic Technique: Distance, Angle, and Gain

Sit about a fist's width from the mic, roughly four inches, angle it so you talk slightly across the capsule rather than straight into it, and set gain so your loudest moments peak around -12 to -6 dBFS with normal speech sitting near -18. Get those three right and a $100 mic sounds cleaner than a $500 one used badly. Distance fixes thinness and room echo, angle fixes plosives and sibilance, gain fixes hiss and clipping. None of them costs a cent.
The expensive lie in podcast gear is that a better mic fixes a bad-sounding recording. It rarely does. The same mic, six inches farther back and pointed at your chin, can sound like a different, worse, microphone. This guide treats distance, angle, and gain as the three free upgrades they are, gives you the exact numbers, then names the fix for the three problems that wreck beginner audio: plosives, sibilance, and proximity boom. Run the one-minute scorecard at the end before you blame your gear.
What are the three mic-technique settings, and what does each fix?
Distance, angle, and gain are the three things you control with no extra hardware. Distance is how far your mouth sits from the capsule; it sets how full your voice sounds and how much room you pick up. Angle is the tilt of the mic relative to your mouth; it tames the air blasts and harsh "s" sounds. Gain is the input level on your interface or USB mic; it sets your signal above the noise floor without clipping.
Each one owns a different problem. Get distance wrong and you sound thin and roomy, or boomy and muffled. Get angle wrong and every "P" thumps and every "S" hisses. Get gain wrong and you either bury your voice in hiss or smash the peaks into distortion you can never undo. The reason technique beats spending: the gap between a $150 and a $1,500 setup is smaller than the gap between bad mic technique in a noisy room and good technique in a treated one (Ausha, on podcast equipment cost).
How close should you sit to a podcast mic?
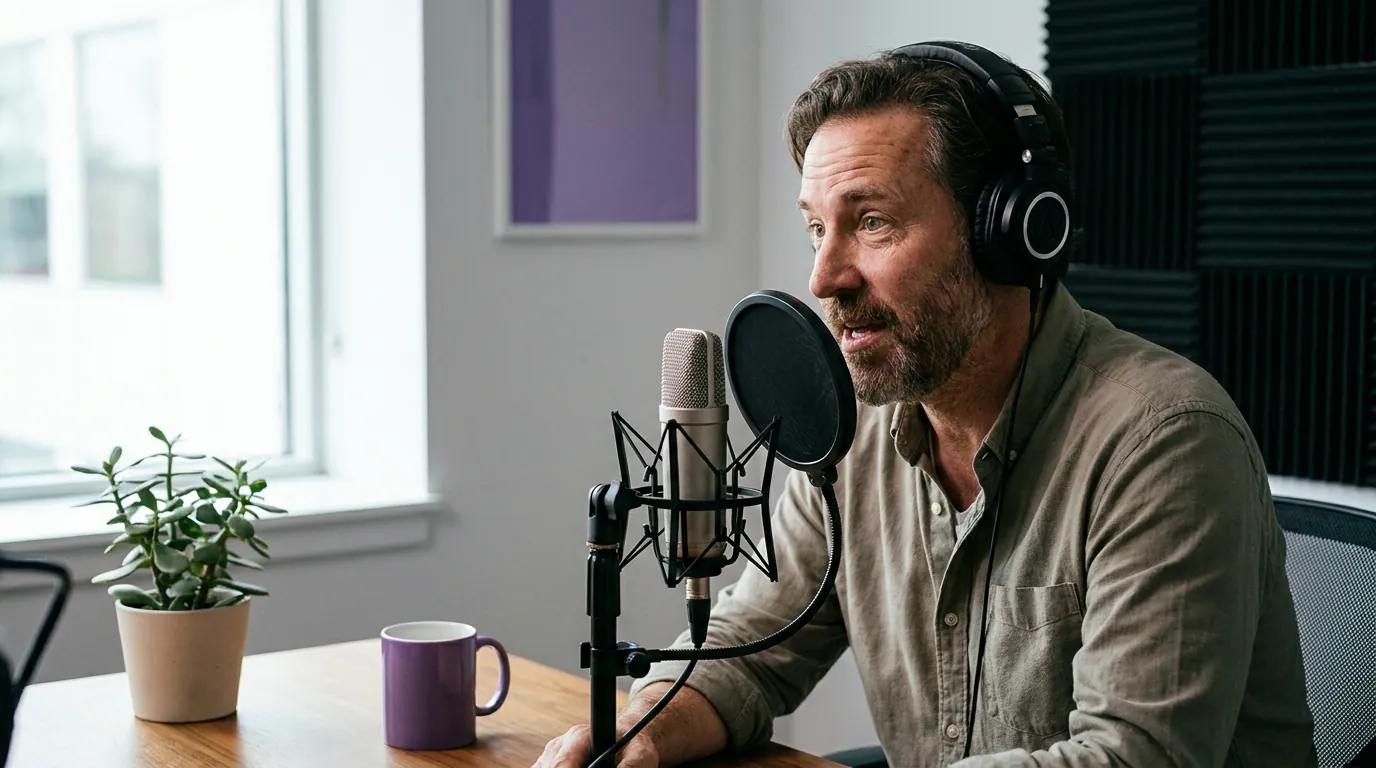
About four inches, a closed fist between your lips and the mic, for most dynamic podcast mics. That close, your voice picks up body and warmth and your mic hears far more of you than of the room, which matters most if your space isn't treated. Too far back (a foot or more) and you sound thin, distant, and roomy; too close (an inch) and bass builds up into a muddy boom. Find the fist's width and hold it.
Two things change that default. First, the mic type. Sensitive large-diaphragm condensers can sit a touch farther, five or six inches, because they pick up everything, including your room; pulling back trades some warmth for less echo. Forgiving broadcast dynamics reward getting in close, which is exactly why so many video podcasts run them at a fist's width. Second, your room. The worse your acoustics, the closer you want to be, because proximity is the cheapest noise gate there is: more you, less room.
The mistake that hides here is drifting. People start at four inches and lean back as they relax, so the first half of an episode sounds full and the second half sounds distant and uneven. A boom arm parked at the right spot fixes this better than willpower. If you record sitting, set the arm so the mic meets you where you naturally sit, not where you sit when you're concentrating on posture.
What angle should the mic be at?
Tilt the mic 10 to 20 degrees off the direct line of your mouth so you talk across the capsule, not straight into it. Aim it at your chin or just off the corner of your mouth. This single move sends the puff of air from plosive consonants past the capsule instead of into it, and softens harsh "s" sounds by keeping your most direct, sibilant output off the most sensitive spot. It is the closest thing to a free pop filter and de-esser combined.
The physics is simple. Plosives, the burst of air on "P," "B," and "T", are not a volume you can turn down; they're a blast hitting the diaphragm. Point the mic head-on and the blast lands square. Angle it and the air mostly misses. Sibilance, the piercing "ssss", is high-frequency energy that fires straight out of your mouth; move the capsule off that direct line and the harshest part softens. One tilt, two problems handled, no hardware.
Two practical notes. Talking across the mic works on almost any model, but it does the most on end-address dynamics, where you address the top. On side-address condensers, address the front of the grille and tilt slightly, don't talk into the side or the back, which kills your level. And keep it subtle: 30 degrees and beyond starts to sound off-mic and thin. Angle does half the pop-filter's work for free; on a sensitive condenser a screen mops up the rest, and the best mics under $100 note which models pop and which forgive a slight angle on their own.
Where should you set the gain?
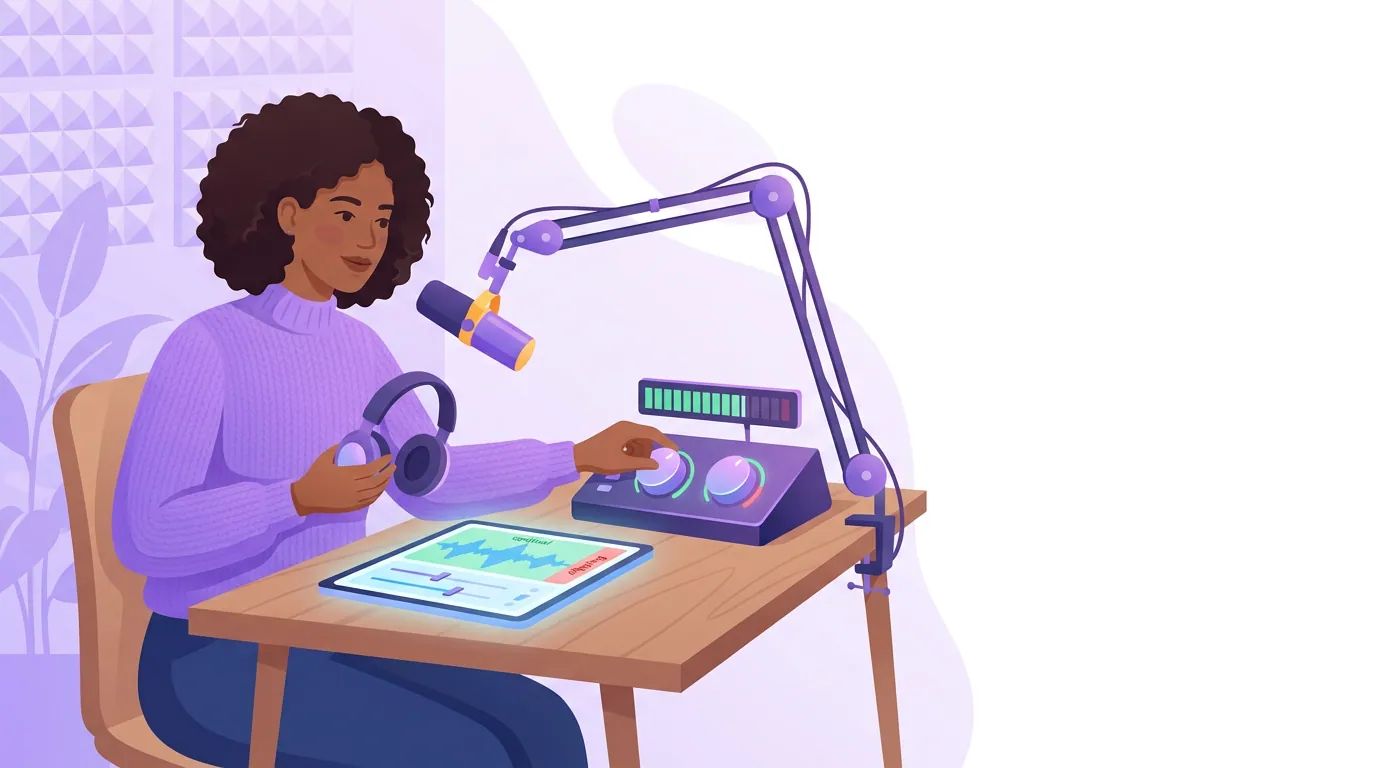
Set input gain so normal speech sits around -18 dBFS on your meter and your loudest laughs or emphasis peak no higher than -12 to -6 dBFS, never touching 0. That window is loud enough to sit well above the noise floor, so you don't amplify hiss later, and quiet enough that a sudden loud moment can't clip into distortion you can't undo. Speak at your real recording energy while you set it, not a polite test "hello", most people get noticeably louder once the conversation actually starts, which is what pushes a too-hot setting into clipping.
This is gain staging, and it's where good mics get ruined. Too low and you turn the gain up in editing, which lifts the background hiss and room hum right along with your voice. Too high and the peaks slam into 0 dBFS and clip, a hard, crunchy distortion that no plugin restores, because the information is gone. The fix is to leave headroom. Aim for that -18 average and watch the loudest 10% of the meter, not the average, because clipping is a peak event.
On a USB mic, your gain knob (or the OS input slider) is the control. On XLR, it's the gain on your interface or mixer, and if you're weighing that next step, the USB vs XLR decision is about the whole signal chain, not just the mic. Whatever the control, the target is the same. And monitor with headphones while you record. You cannot fix gain, distance, or angle problems you never hear until export.
The free-upgrade list: distance, angle, gain at a glance
This is the whole guide on one screen. Set it once at the start of every session, in this order, distance, then angle, then gain, because each one changes the next.
| Setting | The number | What it fixes |
|---|---|---|
| Distance | ~4 in (a fist); 5–6 in for sensitive condensers | Thin/roomy voice, proximity boom |
| Angle | Tilt 10–20° off your mouth's line; talk across it | Plosive pops, harsh sibilance |
| Gain | Speech ≈ -18 dBFS, peaks -12 to -6, never 0 | Background hiss, clipping distortion |
A $100 mic set to these beats a $500 mic a foot away, pointed head-on, with the gain cranked. That's not a slogan, it's the order of magnitude of the difference. The mic determines the ceiling of your sound; technique determines whether you get anywhere near it.
The three problems these settings solve
Most beginner recordings die on the same three flaws. Here's the named fix for each, in the order you'll meet them.
- Plosives (the "P" thump). A blast of air on "P," "B," and "T" hitting the capsule. The fix is angle first, tilt the mic so you talk across it, then a pop filter if a sensitive condenser still pops. Pulling back slightly helps too. Do not try to fix plosives with EQ after the fact; you'll never fully remove them.
- Sibilance (the harsh "S"). Piercing high-frequency energy on "s" and "sh." The fix is the same off-axis angle, which keeps the most direct sibilant output off the most sensitive spot. A small bit of de-essing in editing cleans up what's left, but get the angle right and there's far less to clean.
- Proximity boom (the muddy bass). When you get very close to a directional mic, low frequencies build up and your voice turns boomy and muffled. The fix is distance: back off to the fist's width. If you like the warmth of getting close, a gentle low-end roll-off in editing keeps the body without the mud, but distance is the free version.
The thread through all three: diagnose the symptom, then change the one setting that owns it. Don't reach for a plugin or a new mic for a problem that a tilt and a fist's width solves at the source.
How I set this up (and what I tested)
I set the same three numbers on every rig I build, from a $150 USB starter to a multi-mic studio: fist-width distance, a 10–20 degree off-axis tilt, and gain landing speech near -18 dBFS. I've put this on broadcast dynamics, beginner USB mics, and large-diaphragm condensers across home rooms with no treatment and proper studios. The pattern holds: the cheaper and more forgiving the mic, the more technique closes the gap to expensive gear, because the expensive mic's advantage is mostly headroom and detail you only hear once technique is already right.
Two honest caveats. First, the exact distance shifts with your voice and mic, a quiet talker or a very sensitive condenser may want to be a touch closer or farther; use the numbers as a starting point and trust your ears on playback. Second, technique cannot beat a genuinely bad room past a point. If you have hard echo, distance and angle reduce it but won't erase it; that's a treatment problem, and a forgiving dynamic mic up close is the cheap workaround until you fix the space.
FAQ
How close should I be to my podcast mic?
About four inches, a closed fist between your mouth and the mic, for most dynamic podcast mics. Sensitive condensers can sit five or six inches back to pick up less room. Closer adds warmth and rejects your room; too close adds boomy bass. The worse your acoustics, the closer you want to be.
Should I talk directly into the mic or at an angle?
At a slight angle. Tilt the mic 10 to 20 degrees off the direct line of your mouth and talk across the capsule, aiming at your chin or the corner of your mouth. This sends plosive air past the diaphragm and softens harsh "s" sounds, a free pop filter and de-esser in one move. Avoid going past 30 degrees, which sounds off-mic.
What should my gain or input level be?
Set gain so normal speech sits around -18 dBFS and your loudest peaks land between -12 and -6 dBFS, never reaching 0. That keeps your voice well above hiss while leaving headroom so a sudden loud moment can't clip. Set it at your real recording energy, not a quiet test, and monitor with headphones.
Why does my expensive mic still sound bad?
Almost always technique, not the mic. A great mic a foot away, pointed head-on, with the gain wrong will sound worse than a cheap mic at a fist's width, angled, with proper gain. Fix distance, angle, and gain first. If it still sounds boxy, that's your room, not your microphone, and treatment beats a new mic.
Do I still need a pop filter if I get the angle right?
Often no on forgiving dynamics, sometimes yes on sensitive condensers. Talking across the mic at an angle handles plosives on most podcast dynamics. Large-diaphragm condensers recorded close are exposed enough that a pop filter mops up what the angle misses. Set the angle first; add the screen only if a test still pops.
The one-minute setup scorecard
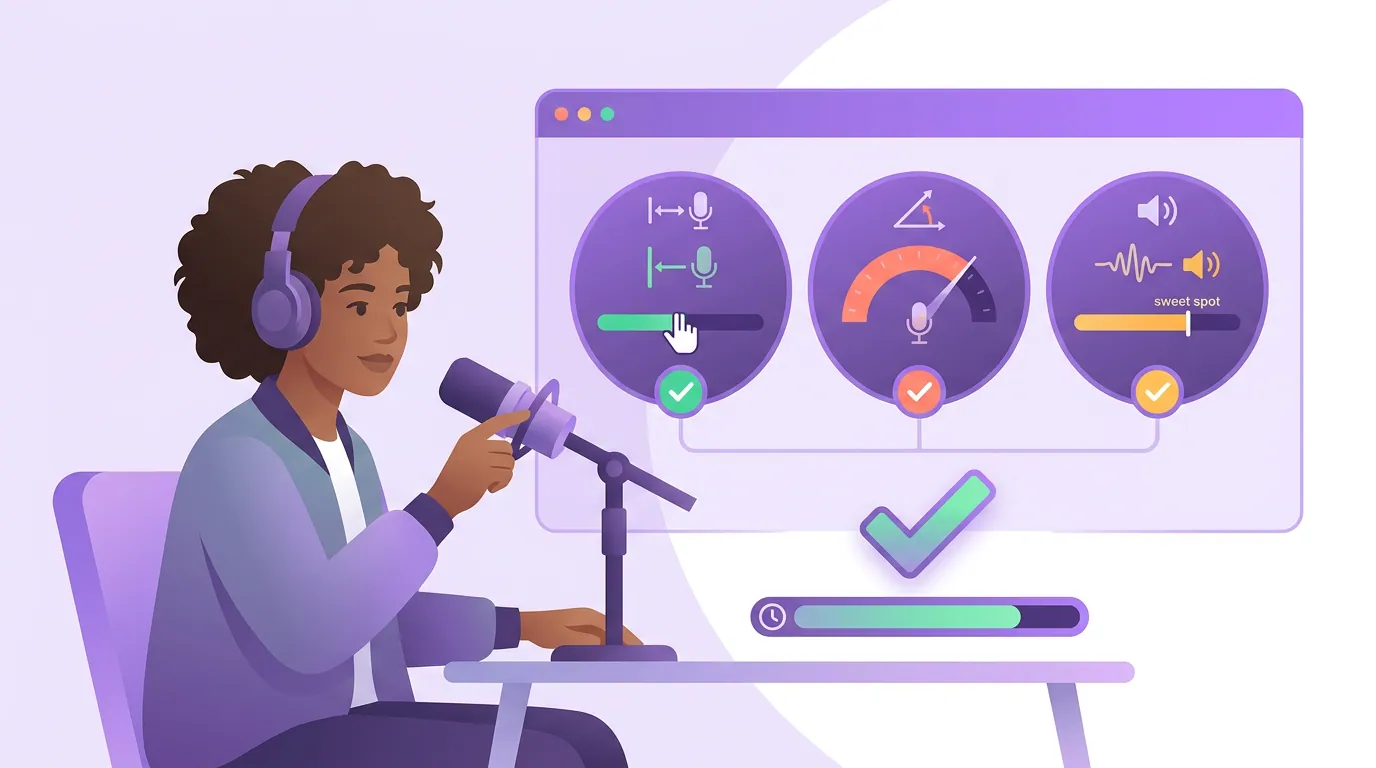
Run this before every session. Distance: can you fit a fist between your mouth and the mic? Angle: is the mic tilted so you talk across it, not into it? Gain: does normal speech read near -18 dBFS with peaks under -6, headphones on? If yes to all three, record. If not, you've caught the problem before it's baked into the file. That's the whole point: the flaws that make audio sound amateur are small and fixable, and a recording you don't cringe at is one you'll keep making. Nearly half of all podcasts never make it past their first three episodes Amplifi Mediaon podcast failure rates); consistency, not gear, is the survival trait.
Once your sound is clean, pair it with a repeatable episode structure and the prep that fits your show, scripting or outlining, and the mic stops being the thing you worry about. When you're ready to spend, do it knowing what gear actually buys you: the best mics broken down by budget tier and a hybrid USB/XLR mic that grows with your show both assume you've already got the free settings right.
Clean audio isn't only kinder to your ears. It's what makes the short clips you cut from each episode watchable on a phone speaker, and clips are how most new listeners find a show in the first place.