
Make Clips From a Podcast With Bad Audio

To make clips from a podcast with bad audio, triage the source before you cut a single moment. Sort each problem into three buckets: clean the steady, fixable stuff (hum, hiss, mild echo); salvage what's recoverable (too quiet, mild clipping); and abandon the unfixable (heavy distortion, a dropped track). Then clip only from sections that survived, and let captions carry the merely-passable ones.
The mistake that wastes the most time is treating "bad audio" as one problem with one fix. It isn't. A steady hiss and a hard-clipped peak are not the same defect, and one of them is recoverable while the other is gone for good. The editors who clip rough episodes fast aren't better at audio repair, they're faster at deciding what's worth repairing, what to route around, and what to abandon. That decision is the whole skill.
Why audio quality decides which clips are even possible
A faint flaw a listener forgives across a 40-minute episode they chose to play becomes a first-second deal-breaker on a 20-second clip a stranger didn't ask for. For many shows the clips now out-reach the source, often by a wide margin, because a short excerpt rides a feed built to spread it. Clips are usually a new viewer's first contact with your show, and that feed is crowded. Rough sound reads as amateur before the idea even lands, and they scroll.
There's a second, more useful reason to start with audio. Production quality is consistently named as a real growth lever for clips (Podcast Studio Glasgow), and audio is the cheapest part of it to fix. You can't re-shoot a recorded episode, but you can choose which 20 seconds you cut, and choosing well is free. Triage first turns "this whole episode sounds bad" into "these three windows are clippable and the rest isn't," which is a far smaller, more honest problem.

Step 1, Triage the source into clean, salvage, or abandon
Before you look for a single moment, listen through the episode once with one job: name the audio defect in each rough patch and sort it. Four defects cover almost everything, and each one has a verdict attached. Steady noise and quiet takes are recoverable. Hard clipping and a dropped track usually are not. The table below is the call sheet, run the episode against it and mark your timeline.
Step 2, Clean the steady problems once, at the source
If the whole episode carries the same hum, hiss, or mild room echo, fix it one time on the full track before you cut anything. That's the difference between doing the work once and re-doing it on twenty clips with settings that drift. Apply a high-pass filter around 80–100 Hz to kill low hum, a gentle broadband noise reduction (start at 6–10 dB, not the maximum) for hiss using a noise profile grabbed from a half-second of room tone, and a light de-reverb pass for echo if a free tool like Audacity or an AI cleaner can handle it.
The hard rule on cleaning: reduce until the noise stops bothering you, then back off about 20%. Pushed to maximum, every denoiser starts eating the voice, breaths vanish, consonants smear, and the host ends up sounding underwater. A clip with a trace of natural room tone reads as real; one scrubbed to digital silence reads as fake, and "fake" is the one thing a talking-head clip can't survive. (For the per-defect detail on hum, hiss, and reverb, see the companion piece on removing background noise from clips.)
Step 3, Salvage the quiet and the mildly clipped
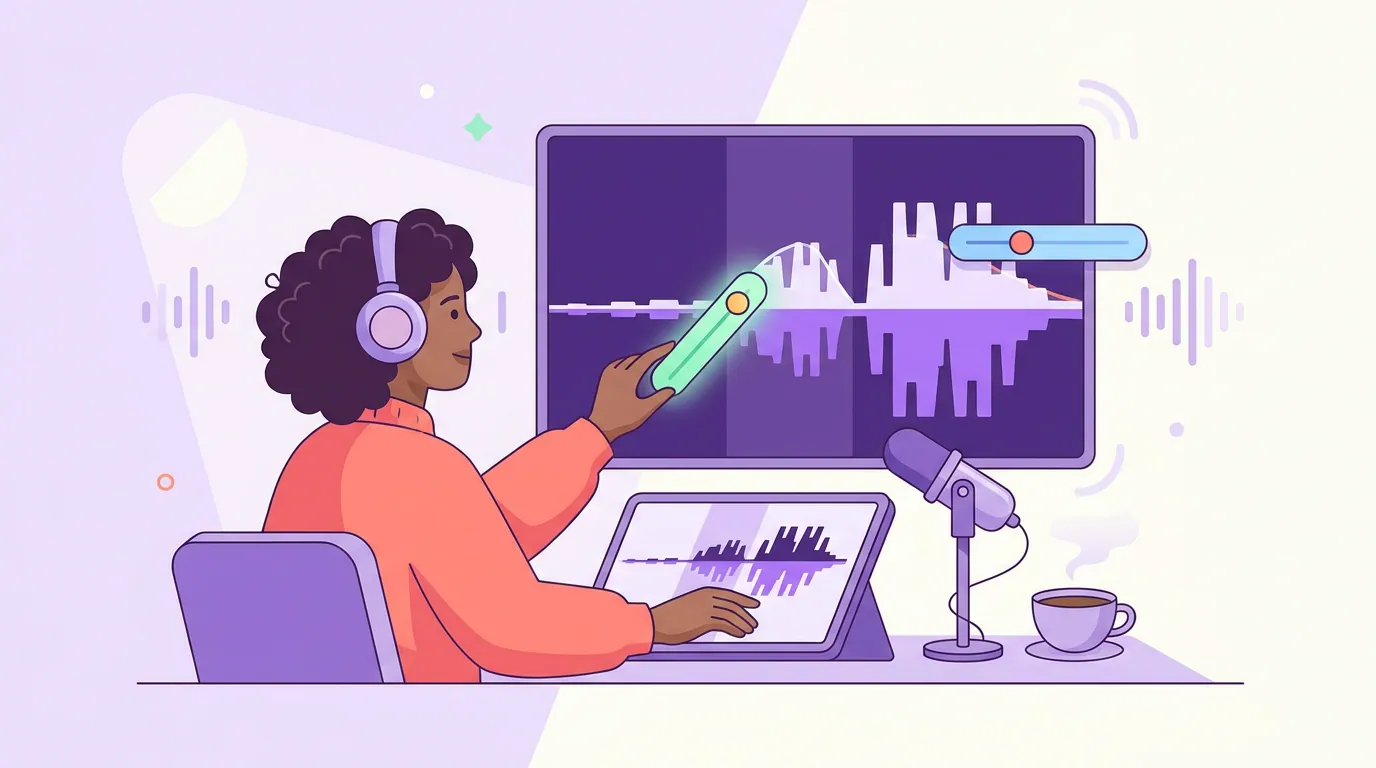
Two defects look fatal and usually aren't. Too quiet, a guest mic set low, someone leaning back from the mic, is the friendliest to fix: raise the gain, then run a light noise reduction afterward, because boosting a quiet signal boosts its noise floor too. Add a touch of compression to even out the level and the clip will sit fine in a feed. The order matters: gain first, then clean up what the gain exposed.
Mild clipping, a few hot peaks crackling on the loudest words, can sometimes be tamed with a de-clip tool that interpolates the flattened tops, or simply by avoiding those exact peaks when you set clip boundaries. Heavy, sustained clipping is a different verdict entirely: the waveform information is gone, no tool reconstructs it, and it belongs in the abandon bucket. Test by ear on a phone speaker. If the distortion survives a de-clip pass, stop trying to save it and find a cleaner moment.
Step 4, Abandon the unfixable (the decision rule most people skip)
Here's the part lazy guides won't tell you: some audio is gone, and the right move is to clip around it, not to torture it with plugins. The decision rule is simple. If three minutes of cleanup doesn't make a segment sound like something you'd play for a friend, abandon it and pick a different moment from the same episode. Heavy clipping, a dropped guest track, codec garble from a flaky connection, two people talking over each other into one mic, none of these reconstruct. The information isn't degraded; it's missing.
This is freeing, not limiting. A 40-minute episode has dozens of clippable windows, and the odds that your single best idea landed in the only ruined 20 seconds are low. When a great moment is genuinely trapped in bad audio, you have one honest fallback: rebuild it as an audiogram or a quote card where the spoken line drives readable on-screen text, so the words carry even when the sound can't. Choosing the cleaner window is almost always cheaper than the rescue, the same logic behind picking the best AI-suggested clips instead of forcing a weak one.
Step 5, Let captions carry what the audio can't
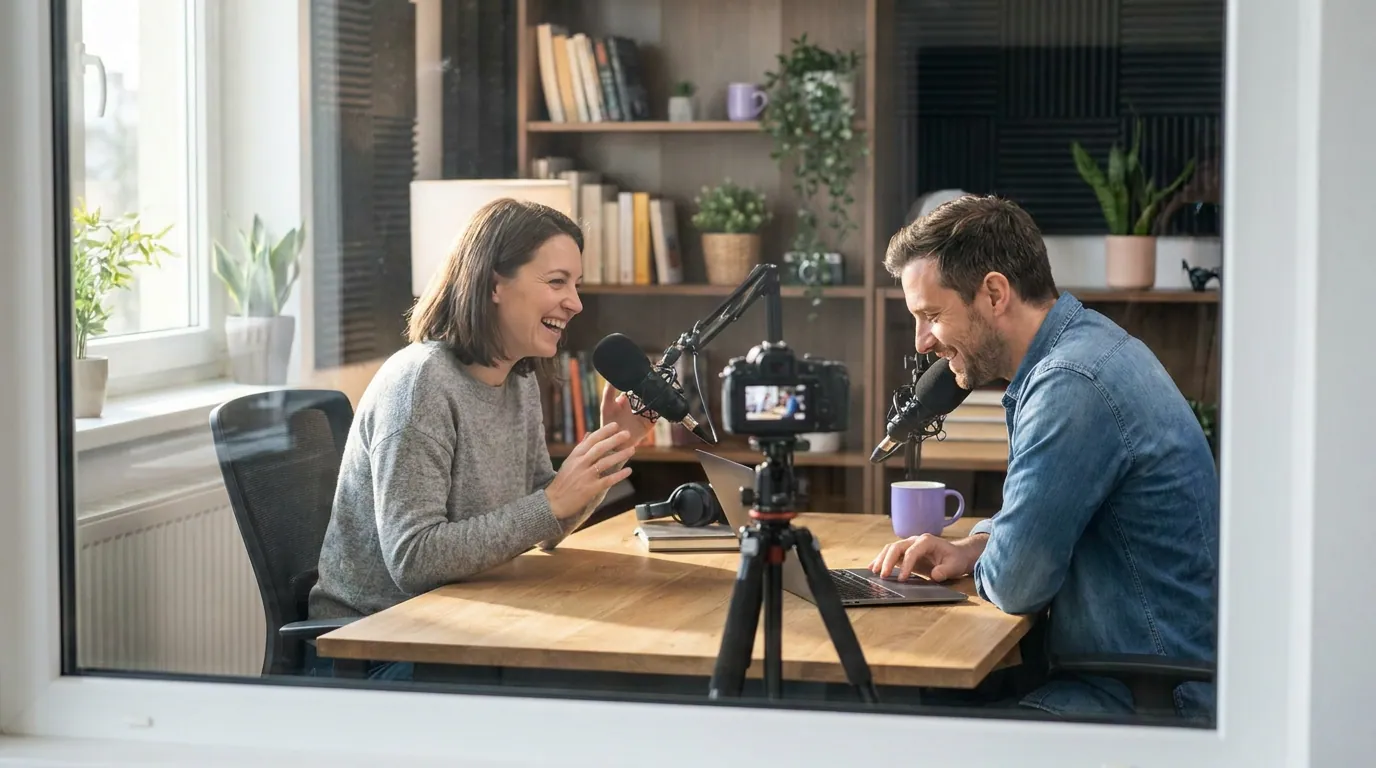
Most social video is watched on mute, a widely repeated publisher estimate from Digiday (2016, publisher-reported; treat as directional, with individual studies ranging from roughly 69% to 85%). That cuts both ways for rough audio. It means a clip with merely-passable sound can still perform, because the majority of viewers are reading, not listening, but only if the captions are accurate. A muted viewer never hears your hiss; they only see whether the words on screen match the mouth and make sense.
So when the audio is salvaged-but-imperfect, spend your remaining effort on the captions, not on squeezing one more decibel out of the denoiser. Auto-captions on rough audio drift more than usual, accents, crosstalk, and a low signal all confuse transcription, so proofread every word, fix the homophones, and time the lines to the speech. Accurate captions turn a 7-out-of-10 audio clip into one that reads as intentional. Bad captions on good audio do the reverse.
Common mistakes when clipping a rough episode
Treating all bad audio as one problem. Hum, quietness, and clipping are three different defects with three different verdicts. Triage with the table above before you reach for a single tool.
Cleaning every clip instead of the source. If the whole episode hums, fix it once on the full track, then cut. Every clip inherits clean audio and you avoid twenty inconsistent passes, the same principle as cleaning a Zoom podcast recording at the source before clipping.
Over-denoising to chase silence. Maxing the noise-reduction slider trades a forgivable hiss for an unforgivable robotic voice. Reduce until it stops bothering you, then back off 20%.
Refusing to abandon a ruined moment. No plugin rebuilds hard-clipped or dropped audio. If three minutes of cleanup doesn't fix it, pick a different window, the episode has more.
Shipping rough audio with sloppy captions. Rough audio is exactly when captions matter most, because the muted majority is reading. Auto-captions drift on low-quality sound, so proofread before export.
Judging on studio headphones. Headphones flatter audio. Check every salvage on a phone speaker, because that's where your audience actually hears the clip.
Tools that fit the salvage workflow
You don't need a pro chain. Free Audacity handles hum (high-pass plus notch), hiss (noise reduction from a captured profile), and basic gain. AI cleaners, Adobe Enhance Speech, Auphonic, Descript Studio Sound, iZotope RX, do more in one pass for reverb and quiet takes, with the standing caveat that all of them sound artificial at maximum, so use a light touch and trust your ears over the slider position.
If you're clipping at volume, the cheapest setup cleans the source once and lets the clips inherit it, rather than running repair per clip. An end-to-end clipping pipeline fits here because it processes the source audio before it detects and cuts moments, related to how AI clip detection actually works and why source quality feeds everything downstream, including audio-only episodes and Riverside recordings where the audio is all you have.
FAQ
Can I make good clips from a podcast with bad audio? Yes, if you triage first. Clean steady noise (hum, hiss, mild echo) once at the source, salvage quiet or mildly clipped takes with gain and gentle reduction, abandon the unfixable, and clip only from sections that survived. Then proofread captions carefully, since most viewers watch muted and read the words rather than hear them.
What audio problems can't be fixed for a clip? Heavy, sustained clipping, a fully dropped track, codec garble from a bad connection, and unseparated crosstalk where two voices share one mic. In all of these the audio information is missing, not just degraded, so no tool reconstructs it. The fix is to pick a cleaner moment from the same episode instead.
Should I clean the whole episode or just the clip? Clean the whole episode once if the defect is constant across it, every clip then inherits the fix and the settings stay consistent. Clean a single clip only when one isolated section has a problem the rest doesn't. For volume, always fix at the source so you don't repeat the same repair on every clip.
Why do my captions get worse when the audio is bad? Auto-transcription leans on a clean signal, so low gain, crosstalk, accents, and noise all push the error rate up. On rough audio, expect more wrong words and drifted timing, and proofread every line before export. Accurate captions matter most precisely when the audio is weakest, because the muted majority is reading them.
Is it worth re-recording instead of salvaging? Usually not, since you can't re-record a past episode and a 40-minute recording has many clippable windows. Re-record only if the entire episode is unusable. Otherwise, abandon the ruined segments, salvage the rest, and choose a cleaner moment, the same call you'd make clipping a YouTube podcast video with one bad stretch.