
Make Clips From a Podcast Livestream


To make clips from a podcast livestream, clip the recording after the stream ends, not during it. Save the VOD from your platform, trim the pre-roll dead air, then run the file through an AI clipper to surface the strongest moments, caption them, and post them vertical. The bonus a stream gives you: the chat log already marks where your audience reacted.
Live-clipping in the moment exists, and it has a place. But for a podcast, where the value is in a full exchange, not a single play, the post-stream recording is the better source almost every time. This walks the VOD workflow end to end, including the two things that are unique to a stream: the dead air at the top and the chat that tells you where to look.
Live-clip in the moment, or clip the recording after?
Clip the recording after the stream for podcasts. Live-clipping, grabbing a moment mid-broadcast, suits fast reaction content and esports, where speed beats polish. A podcast clip needs a clean cut, captions, a vertical reframe, and a self-contained arc, none of which you can do mid-stream. The VOD gives you the whole episode and time to clip it well.
There's a hybrid worth knowing about: drop a marker during the stream when something lands, then go find that timestamp in the recording afterward. Most live tools (and a producer with a notepad) can flag a moment without cutting it. You get the speed of catching it live and the quality of editing it later. That's the move if you have a second person on the broadcast, flag in the moment, clip from the VOD.
Why the stream is worth clipping at all
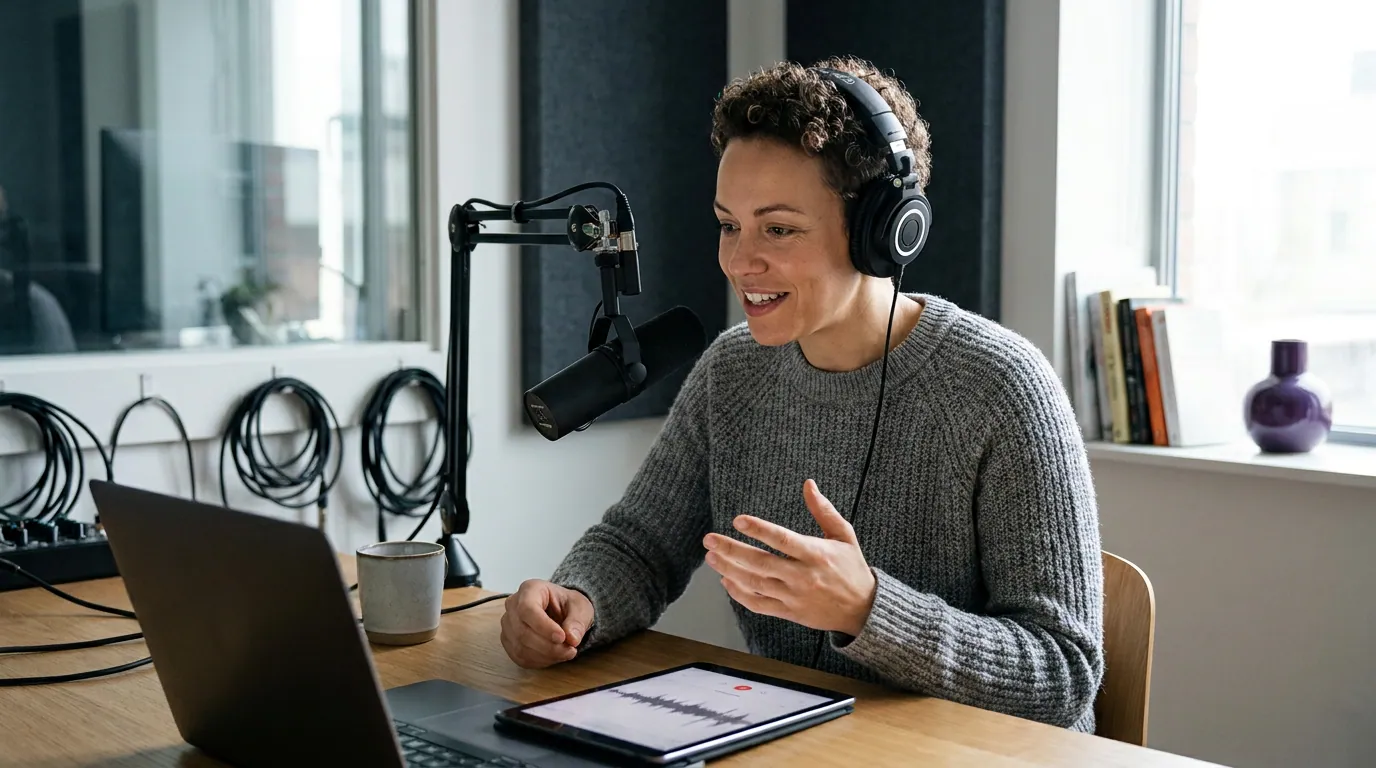
A livestream is a video podcast that already happened in front of an audience, which makes it a high-value clip source. YouTube passed one billion monthly podcast viewers in January 2025 (Variety), and 53% of new US weekly listeners now prefer to watch a podcast rather than only listen, up from 30% in April 2022 (Backlinko), read that as direction from a single survey, not a fixed constant.
The math is the same as any video episode. A single 20-minute video can be sliced into dozens of short pieces (castmagic), that's a raw-extraction count, not posts you'd actually ship, and a two-hour stream gives you far more raw material than a tight recorded episode. For video shows, clips drive a real share of growth, one studio's client data puts them at 20–40% of new audience with 2–5× reach lifts (Podcast Studio Glasgow). Both are single-source ranges, not guarantees. The point stands: the stream's reach mostly lives in clips you haven't cut yet.
Where to grab the recording
The first stream-specific decision is finding the VOD, and it differs by platform. A livestream isn't a normal upload, many platforms hold the recording in a separate place, expire it, or only keep it if you turned the setting on. Save the file before you do anything else.
| Platform | Where the recording lives | Watch out for |
|---|---|---|
| YouTube Live | Auto-saved to your channel as a video | Trim happens in Studio; paste the URL to clip |
| Twitch | Past Broadcasts in the dashboard | VODs expire (7–60 days); export to YouTube or download |
| Instagram / TikTok Live | Saved to your device only if you opt in | Often not saved at all, confirm before you stream |
| StreamYard / Riverside | Recorded locally or to the cloud, separate from the stream | Grab the high-quality local file, not the broadcast feed |
| Zoom webinar | Cloud or local recording | Gallery view needs speaker isolation later |
The rule across all of them: download the highest-quality source you can, not the broadcast feed. The version your viewers watched live was compressed for bandwidth. If your tool recorded a clean local copy, Riverside, StreamYard, and most studio tools do, clip that file instead. It carries cleaner audio and sharper video, which improves both caption accuracy and the vertical crop. For YouTube Live, where the recording lands on your channel as a normal video, you can paste the URL the same way you would any YouTube podcast.
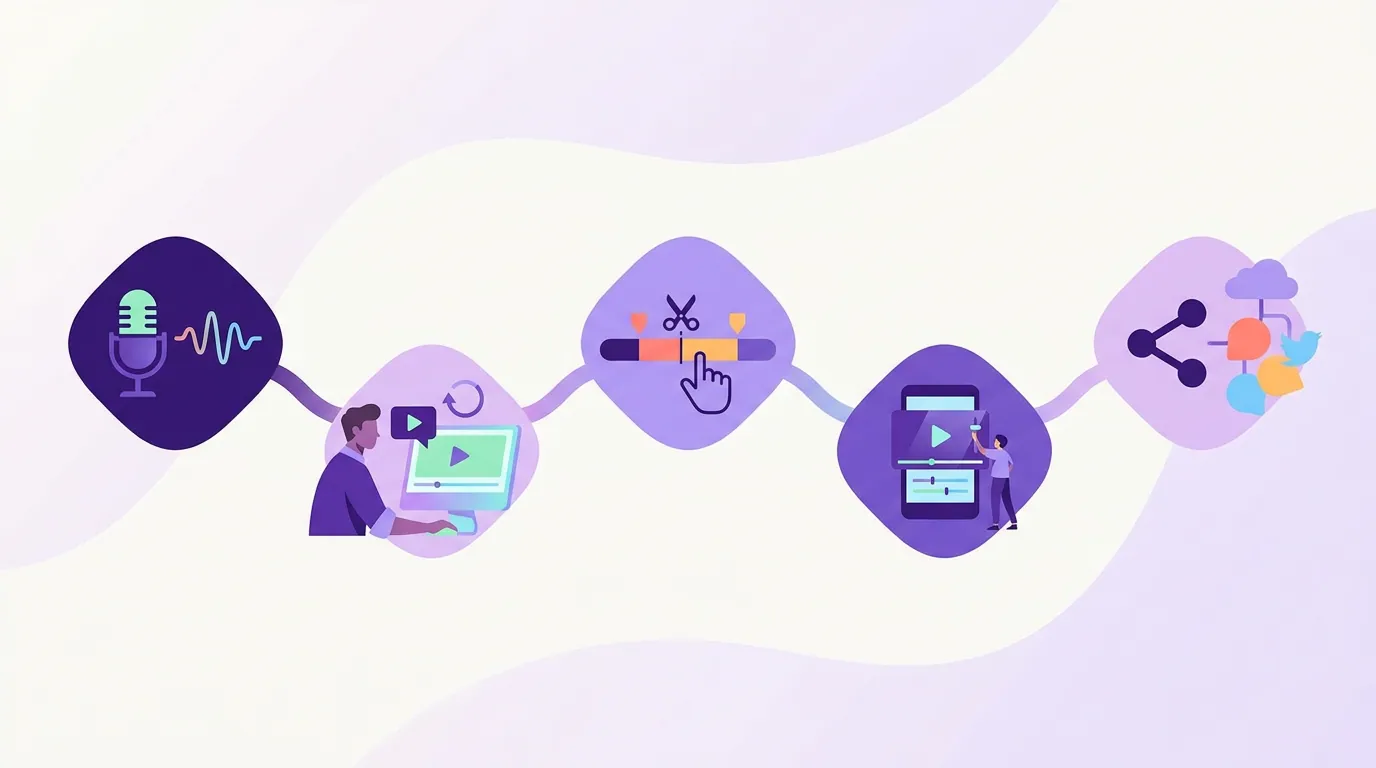
The five-step path from stream to posted clips
Once you have the recording, the workflow is the standard one every AI clipper runs, with one extra step at the front that's unique to streams.
- Import the recording. Upload the local high-quality file, or paste the URL if the stream auto-saved to YouTube. Use the cleanest source you have, the whole batch inherits this file's transcript and crop quality.
- Trim the pre-roll dead air. Cut everything before the show actually starts. More on why this matters below.
- Generate the candidate clips. The tool transcribes the episode, segments it, and scores each window on topic shifts, question-and-answer pairs, and energy spikes. How AI clip detection actually works breaks down the signals. Let it finish the full pass.
- Review with keep / fix / kill, then caption. Go through the candidates once: keep the self-contained ones, fix the ones with the right moment but wrong edges, kill the rest. How to pick the best AI-suggested clips is the rubric. Then set captions and the 9:16 reframe for the batch, most social video is watched on mute.
- Schedule the keepers. Queue them across the week and lead with your two strongest. A long stream gives you enough clips to fill more than one week, so spread them.
Trim the pre-roll dead air first, here's why it matters
Trim the standby screen and mic checks before you generate, because the AI clipper can't tell pre-roll from content, it transcribes the whole file. Every stream opens the same way: "can you hear me," a countdown, "we'll start in a sec." Left in, that dead air pulls weak candidate clips from the opening or skews the tool's read of where the energy sits.
Do this trim in two passes. First, the hard trim: lop off everything before the real first words of the episode, in your tool's trimmer or in YouTube Studio before you paste the URL. Second, after clips come back, the fine trim: most clips improve if you cut the first 1–2 seconds of lead-in and end the instant the payoff lands. The hard trim saves the AI from itself; the fine trim is where the clip gets sharp. This is separate from cutting silences mid-conversation, that's a per-pause judgment about which silences carry weight and which are dead air.
Turn the chat into clip cues
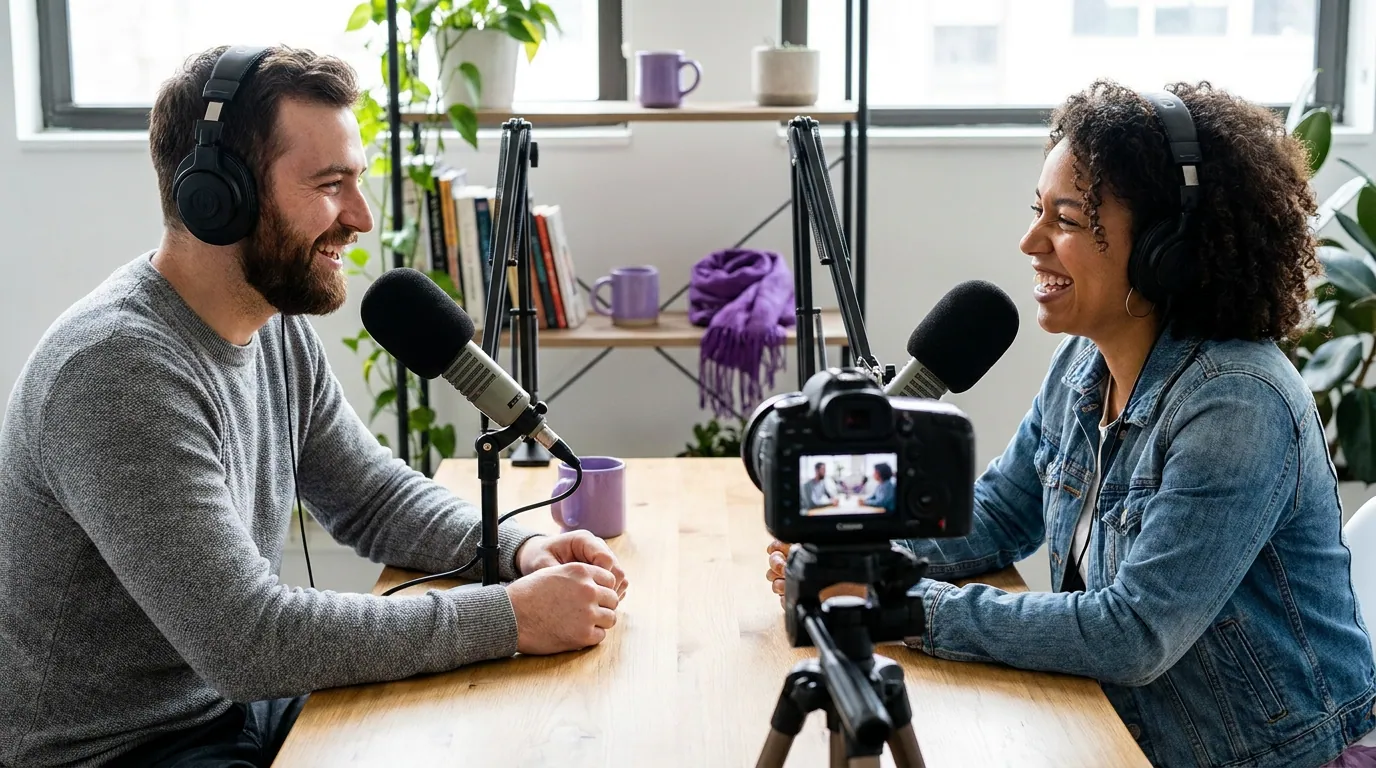
This is the one advantage a stream has that no recorded episode does: a live audience told you, in real time, where the good parts were. The chat is a reaction log. When the same emoji floods in, when "clip it" or "LMAO" or a wall of replies spikes, that timestamp marks a moment your audience already engaged with, which is exactly what you want a clip to reproduce for a new audience.
Use it like this:
- Save the chat replay. YouTube and Twitch keep a timestamped chat log alongside the VOD. Download or screenshot it before it expires.
- Mark the spikes. Scan the log for clusters, a burst of messages in a short window almost always sits on top of a strong moment. Note those timestamps.
- Cross-check against the AI's picks. Generate clips, then compare the candidates to your chat-spike timestamps. Where they agree, you have a high-confidence clip. Where the chat spiked but the AI missed it, go pull that moment manually, the audience signal beats the model there.
- Mine the chat for hook text. A viewer's reaction ("wait, he actually said that") is often a better caption hook than anything you'd write cold.
The honest caveat: chat enthusiasm and clip performance aren't the same thing. A moment your regulars loved can be too inside-baseball for a cold scroller, and virality without a self-contained hook is empty engagement. Treat chat spikes as candidates to check, not clips to ship sight unseen.
Common mistakes clipping from a livestream
Not saving the VOD. The most expensive mistake, because it's unrecoverable. Twitch VODs expire, and Instagram and TikTok Lives often vanish unless you opted to save them. Confirm your recording settings before you go live, not after.
Clipping the compressed broadcast feed. The live stream was downscaled for bandwidth. If your tool kept a clean local copy, clip that, your clips will look sharper and caption more accurately.
Feeding the pre-roll into the clipper. Covered above. Trim the standby screen and mic checks first, or the AI scores dead air as content.
Ignoring the chat. Throwing away the one signal a stream gives you that a recording can't. Save the chat replay and use it as a clip map.
Posting the AI's exact cut points. Detection finds the region, not the perfect frame. Trim the lead-in and land the ending on the payoff.
How this differs from other sources
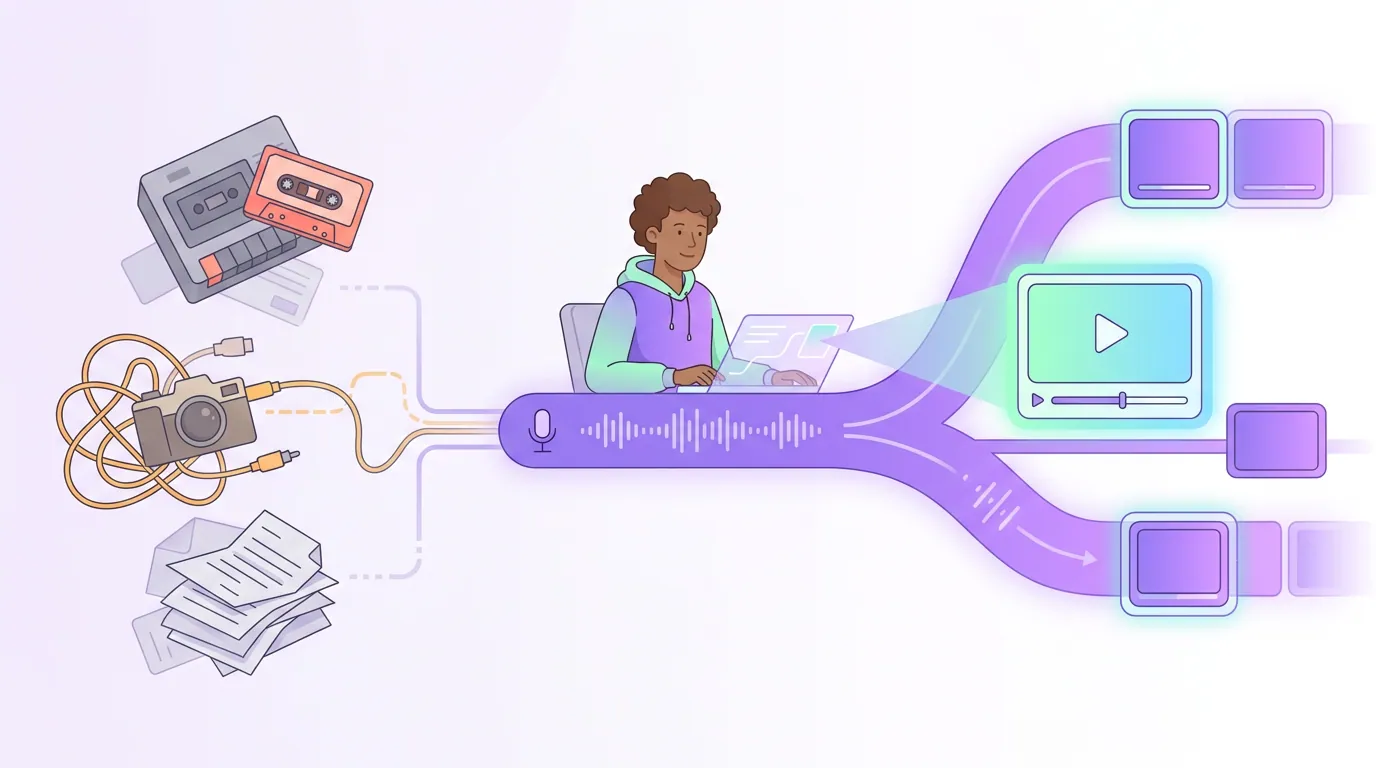
A livestream is closest to a YouTube podcast video once it's saved, the main differences are finding the VOD, trimming the pre-roll, and the chat log. Other sources change the front of the workflow in their own ways: an audio-only episode has no video to reframe, so you build a waveform or video background; a Riverside recording gives you separate high-quality speaker tracks worth uploading over a screen capture; and a Zoom recording arrives as a gallery-view file that needs speaker isolation. The review, caption, and schedule steps stay the same, only the import and framing shift.
FAQ
Should I clip a livestream live or after it ends? After it ends, for a podcast. Live-clipping is built for fast reaction content where speed matters more than polish, and you can't caption or reframe a clip mid-broadcast. The recording gives you the full episode and the time to cut, caption, and reframe properly. The exception is dropping a marker live, then finding that timestamp in the VOD.
Where do I find the recording of my livestream? It depends on the platform. YouTube Live auto-saves to your channel; Twitch keeps it under Past Broadcasts but VODs expire; Instagram and TikTok Lives save only if you opted in. Studio tools like Riverside and StreamYard record a separate local file, clip that high-quality version, not the compressed broadcast feed.
Why trim the start of a stream before clipping? Streams open with a standby screen, mic checks, and a countdown. An AI clipper transcribes the whole file, so that pre-roll can pull weak candidate clips from the opening or skew where the tool thinks the energy is. Hard-trim everything before the real first words before you generate.
Can I use the chat to decide what to clip? Yes, the chat is a timestamped reaction log. Clusters of messages usually sit on top of strong moments, so save the chat replay and cross-check the spikes against the AI's picks. Where they agree, you have a high-confidence clip. Just remember chat enthusiasm and cold-scroll performance aren't the same thing.
How many clips can I get from a two-hour stream? More than from a recorded episode, a long stream is dense raw material. A 20-minute video can be sliced into dozens of raw segments (castmagic), but keepers are far fewer; a realistic two-hour stream still fills more than a week. Spread them across your queue rather than dumping them all at once.