
Turn a Google Meet Recording Into Clips


To make clips from a Google Meet recording, find the file in the organizer's My Drive > Meet Recordings folder, download it, then upload it to a clipping tool that picks the moments and reframes the flat grid into a single-speaker vertical crop. Caption it, and post natively. The two Meet-specific hurdles are where the file lives and the modest resolution you'll usually be working with, most recordings come out at 720p unless someone deliberately turned on 1080p.
Meet wasn't built to make content. It was built for calls, and it shows: the recording lands in a buried Drive folder you don't own unless you ran the meeting, it captures at a lower resolution than a real camera, and it hands you a grid of equal-sized tiles that looks terrible cropped to vertical. None of that is a dealbreaker. You just need to know the quirks before you start, instead of discovering them after you've exported a blurry clip with two heads jammed into one phone-sized frame.
Why clip a Meet recording at all
Short clips pull a real slice of new audience, and a Meet recording is a perfectly good source for them once you reframe it. One production studio puts clips at 20–40% of new audience and reach lifts of 2–5× for the shows it produces (Podcast Studio Glasgow), that's one house's client range, not a platform-wide audit, but the direction holds. If you record interviews or a co-hosted show on Meet because it's free and everyone already has it, those calls are sitting on a week of clips each.
The honest caveat: Meet is a convenience source, not a quality source. A purpose-built recorder like Riverside or a real two-camera setup will always give you cleaner footage. But "the call I already recorded" beats "the perfect file I never made." Clip what you have.
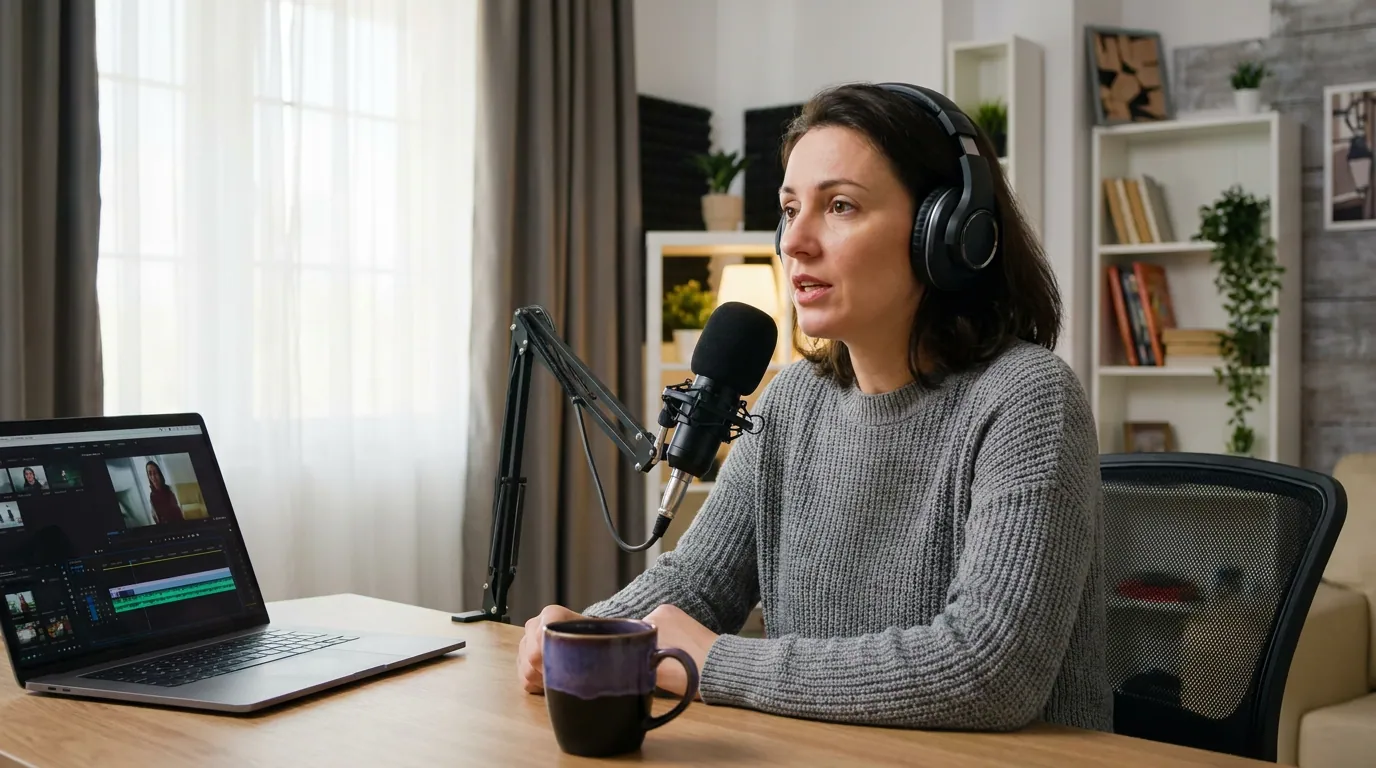
Step 1: Find the recording (it's not where you think)
A Meet recording saves to the meeting organizer's My Drive, in an auto-created folder called Meet Recordings (Google Meet Help). Two things trip people up. First, if you started the recording but didn't organize the meeting, the file is in the organizer's Drive, not yours, they'll need to share it with you. Second, the folder only appears after your first recording saves, so don't panic if you can't find it; search "Meet Recordings" in the Drive search bar.
Recording also isn't on by default for everyone. It requires a paid Google Workspace edition (Business Standard and up, Enterprise, Education Plus, Workspace Individual) or a Google One plan with 2 TB or more of storage, and an admin has to turn it on (Google Meet Help). If "Record" is greyed out, that's why.
One more timing note: the file isn't ready the second the call ends. Drive shows "Still processing" until it's ready to view, and captions can become available a few hours after the recording itself finishes (Google Meet Help). Google doesn't promise a fixed processing time, and in practice a normal-length meeting is usually ready within an hour while long ones take longer, so go hunting for it after a coffee, not the instant you hang up.
Step 2: Know the resolution you're working with
Plan for 720p on the camera feeds, not 1080p. Until mid-2024 the speaker video in a Meet recording was hard-capped at 720p; in June 2024 Google raised that ceiling to 1080p, but 1080p camera capture is off by default and only kicks in if the person on camera opted into sending it, on a paid edition, with a 1080p-capable webcam and the bandwidth to push it (Google Workspace Updates). In a normal interview, nobody did that, so 720p is the realistic source. The reliable exception is screen shares: shared content in a recorded call can reach up to 1080p, depending on the largest shared screen, unless an admin opts the org out (Google Meet Help). So a talking-heads interview is almost always a 720p source; a slide walkthrough might be sharper.
Why this matters for clips: a vertical 9:16 clip is 1080×1920. When you crop a 720p (1280×720) grid down to one speaker's tile and then scale that crop up to fill a vertical frame, you're enlarging a small region of an already-modest source. The result can look soft. It's usable, plenty of clips travel at this quality, but go in expecting it, and don't try to crop too tight. Keep the speaker reasonably large in the original grid layout if you can choose the recording layout in the call.
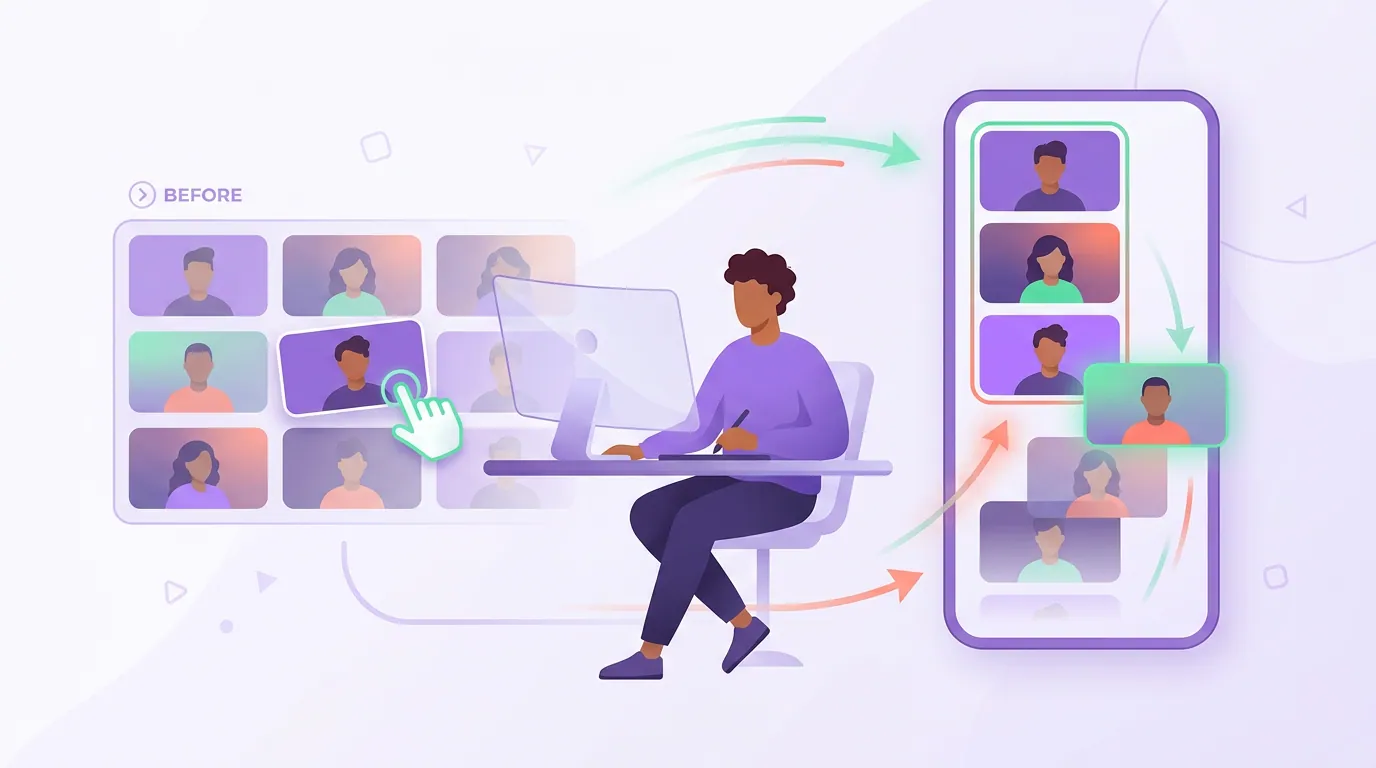
Step 3: Reframe the tile grid for vertical, the Meet-specific move
This is the step that separates a Meet clip from a Zoom or YouTube clip. Meet records the grid: equal-sized tiles laid side by side in a 16:9 frame. Cropped naively to 9:16, you get either two half-heads squeezed together or a single speaker floating in dead space. Neither works. You need to crop to one speaker at a time and switch the crop to whoever is talking.
The fix is active-speaker reframing. Instead of cropping the whole grid, the editor isolates the current speaker's tile, scales it to fill the vertical frame, and cuts to the other person's tile when the conversation turns. Done by hand, that's a manual crop-and-keyframe per speaker change, tedious on a long interview. Done with AI auto-reframe, the tool tracks who's talking and follows them. Either way, the rule is the same: one face per frame, and the frame follows the voice.
If you want the mechanics of how a tool decides where to crop and when to switch, how AI clip detection actually works covers what the model reads. And because auto-reframe gets it wrong sometimes, locking onto the muted person or sitting between two speakers, always scrub the reframed clip before you caption it.
Step 4: Pick the moments and caption them
Once the file is in, the workflow is the same as any video source. Let the tool surface candidate moments, then choose the 20–45 second stretches built around one quotable line, a sharp exchange, or a clean story beat. This is also where clips earn their keep: one vendor reports 42% of listeners find new shows through social media (castmagic, a vendor-cited figure), and your clip only gets that chance if the first few seconds land, so lead with the strongest line, not the windup. For separating real clippable moments from filler, see how to pick the best AI-suggested clips.
Then caption everything. Most social video plays muted, an older publisher estimate put around 85% of Facebook video watched with the sound off (Digiday, 2016, directional and dated), so on a feed, the caption is what sells the clip. Burn in large, word-synced captions, keep them clear of the bottom UI strip, and export at 1080×1920 for native posting. The captions also do extra work on a Meet clip, because the 720p footage isn't carrying the clip on visual polish alone.
Common mistakes clipping a Meet recording
Hunting for the file in the wrong Drive. If you started the recording but someone else organized the meeting, it's in their Meet Recordings folder, not yours. Confirm who organized the call before you assume the recording failed.
Cropping the whole grid to vertical. A four-up grid squeezed into 9:16 gives you tiny floating heads. Reframe to one speaker per frame and let the crop follow the voice. This is the single biggest difference between a Meet clip that works and one that doesn't.
Expecting 1080p from the cameras. 1080p camera capture exists since June 2024 but is opt-in, so talking-head footage is almost always 720p; only screen shares reliably reach 1080p. Don't crop so tight that the upscale turns the speaker to mush. Keep some headroom in the crop.
Downloading before the file finishes processing. "Still processing" in Drive means the recording isn't ready, and downloading early gives you a partial or missing file. Wait it out, usually within an hour for a normal call, and captions can lag the video by a few more hours.
Treating Meet as a final-quality source. It's a convenience source. If a clip really matters and you have the option, record future episodes on a tool built for it, but never let "the footage isn't perfect" stop you from clipping the call you already have.
FAQ
Where do Google Meet recordings get saved? In the meeting organizer's Google Drive, in an auto-created folder called Meet Recordings under My Drive (Google Meet Help). If you started the recording but didn't organize the meeting, the file is in the organizer's Drive, not yours, and they'll need to share it. The folder only appears after your first recording saves, search "Meet Recordings" if you can't find it.
What resolution does Google Meet record at? Plan for 720p on the camera feeds. Google raised the recording ceiling to 1080p in June 2024, but 1080p camera capture is opt-in and rarely on, so a normal call records at 720p (Google Workspace Updates). Screen shares can reach 1080p (Google Meet Help). Avoid cropping so tight that upscaling a single tile makes the speaker look soft.
How do I make a Meet recording vertical without two heads in one frame? Reframe to one speaker per frame instead of cropping the whole grid. Isolate the active speaker's tile, scale it to fill the 9:16 frame, and cut to the other person when the conversation turns. AI auto-reframe does this by tracking who's talking; doing it by hand means a crop-and-keyframe per speaker change. Either way, check the result before captioning.
Why can't I record my Google Meet call? Recording requires a paid Google Workspace edition or a Google One plan with 2 TB or more of storage, and an admin has to enable it (Google Meet Help). If the Record option is greyed out, the feature isn't turned on for your account.
Is a Meet recording good enough for podcast clips? Yes, with realistic expectations. Meet is a convenience source, 720p cameras and a grid layout that needs reframing, not a quality source like a purpose-built recorder. The footage is usable; just lean on strong captions and a tight reframe. For cleaner alternatives, compare Zoom, Riverside, or a YouTube upload; for video-less calls, clip the audio only.